Wood hardener VS Epoxy
Woodturning Wood Hardener Experiment
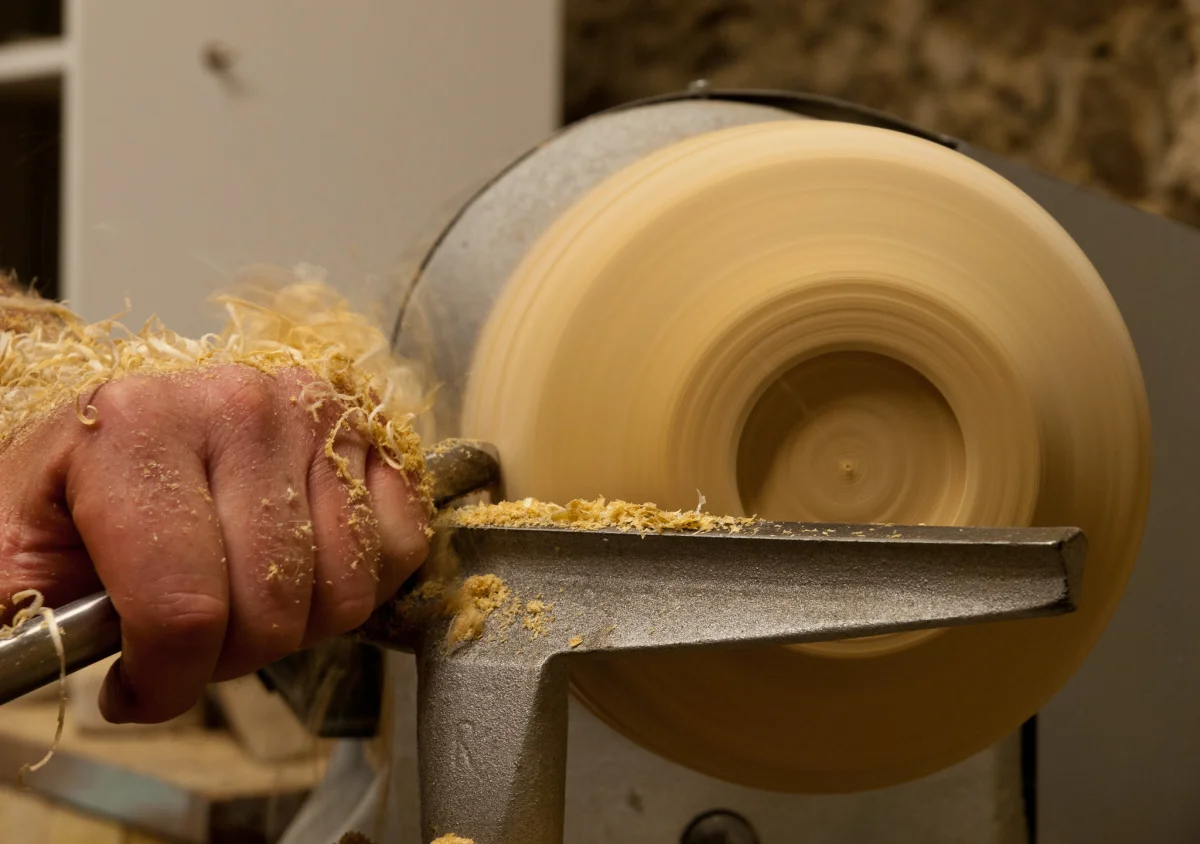
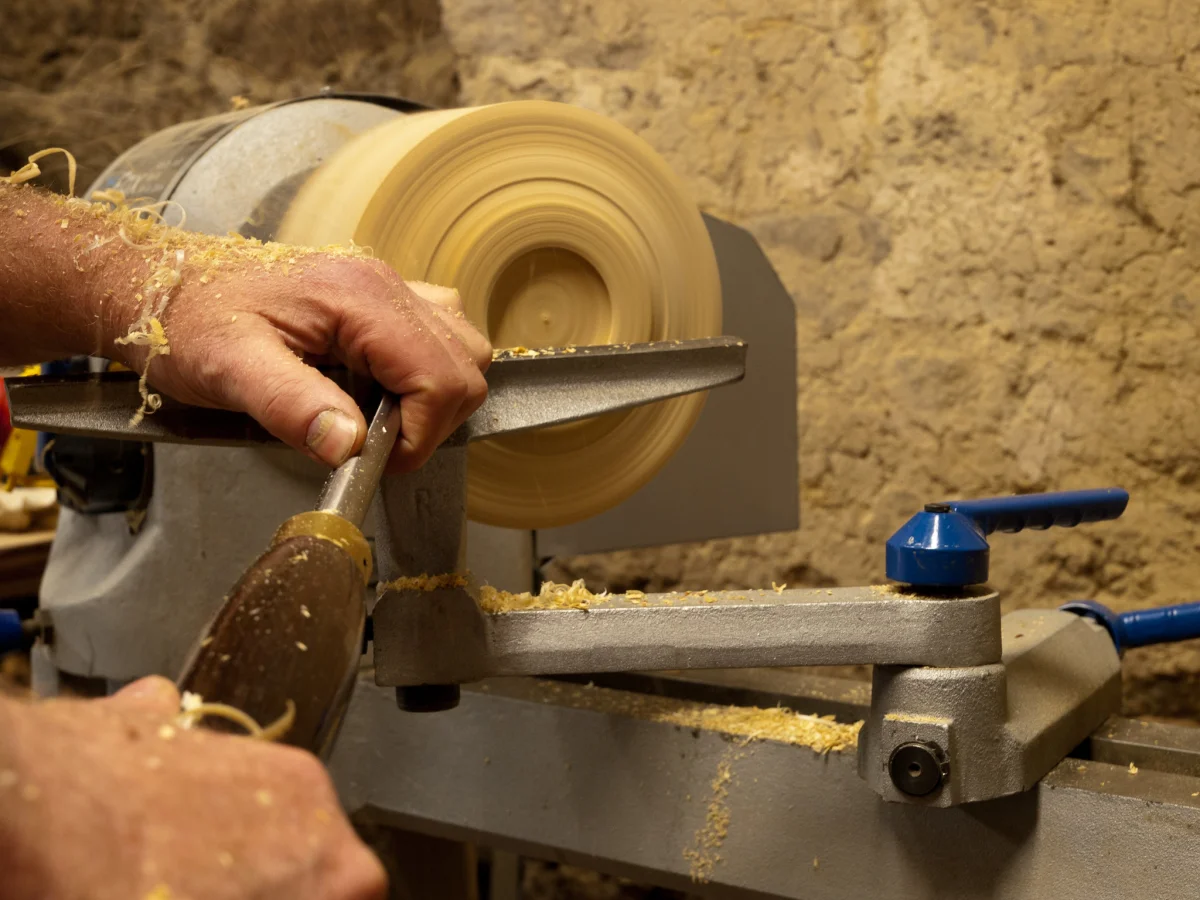
Having created our cherry bowl blank and rounded out its corners on a bandsaw, it was time to get turning.
We started out by mounting it onto our Nova 2 Chuck, which we fitted with a worm screw that held up relatively well and pulled up tight and secures to the chuck. The tailstock was then fixed right up against the other side of the bowl blank, going in easily considering the outer layer was quite soft in the area.
Thankfully, there wasn’t any more softwood to be seen at this point, and everything held its position nice and taut, so we were good to go.
We went ahead with shaping the bowl blank using a tenon so we could have the chuck on the tailstock side. This presented no issues and the process went smoothly right up until we discovered more of that dreaded softwood.
Normally, we’d toss the blank and count it as an addition to the firewood supply, but considering we’d already begun shaping it, we figured it would be a shame to quit now. Thus, we forged ahead.
When working with soft or even rotten wood, there’s always the chance that the wood will give up and the blank will spin off the chuck. As any woodturner can tell you, novice or otherwise, a flying projectile launching itself across the workspace means a mess on a good day and a trip to the ER on a bad one. With that said, we forged ahead slowly and carefully.
For this project, we were trying out a brand new set of carbide tools; one square insert and a round insert 15 millimeters in diameter. Thankfully, both performed their tasks without a hitch and we will definitely be using them for future projects.
A Traditional Grind For Gouging
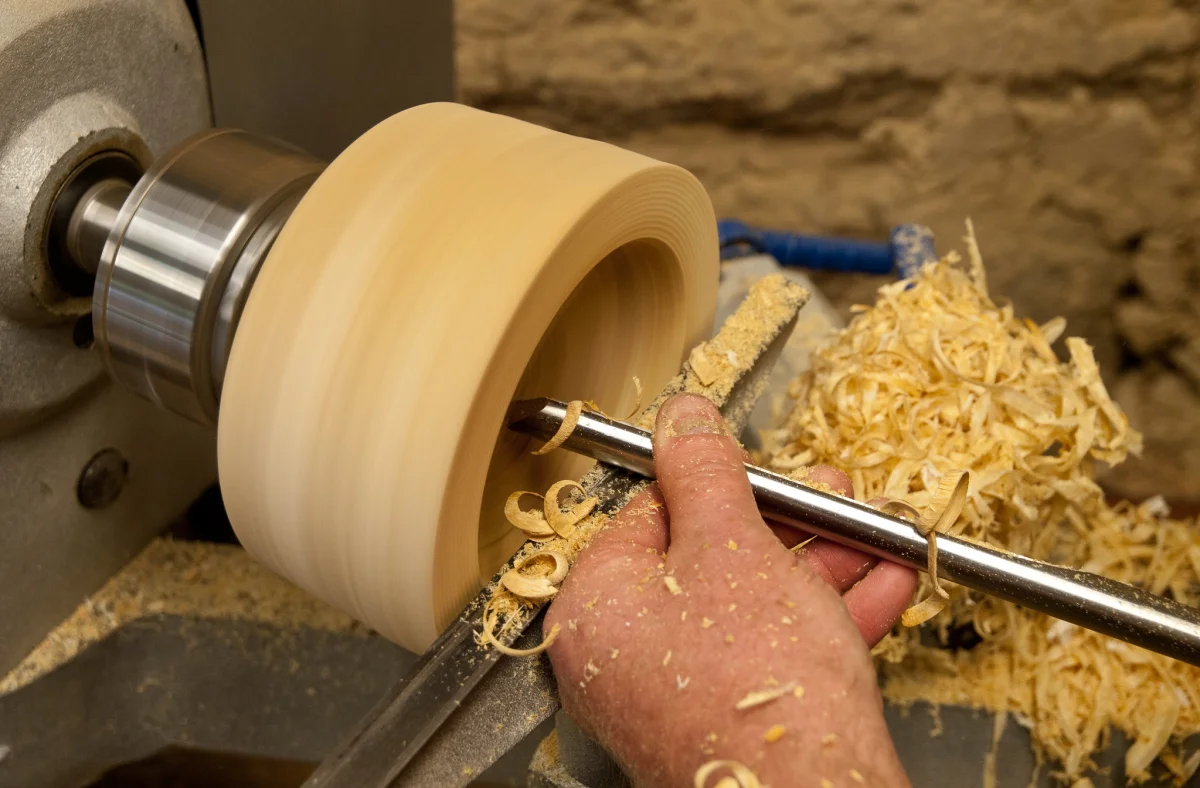
Finally, when turning a bowl blank, one needs a bowl gouge. What we had on hand was Woodstock’s ½-inch bowl gouge, which with the right technique will get you through any blank without any catches. Unfortunately, our technique left something to be desired.
Still, we persevered. After countless catches that left us holding our breath for the moment our bowl blank turned into an unidentified flying object, we decided to regrind our bowl gouge with what Richard Raffan and other experienced turners call a traditional grind. Additionally, we added on a secondary grind for a little more clearance.
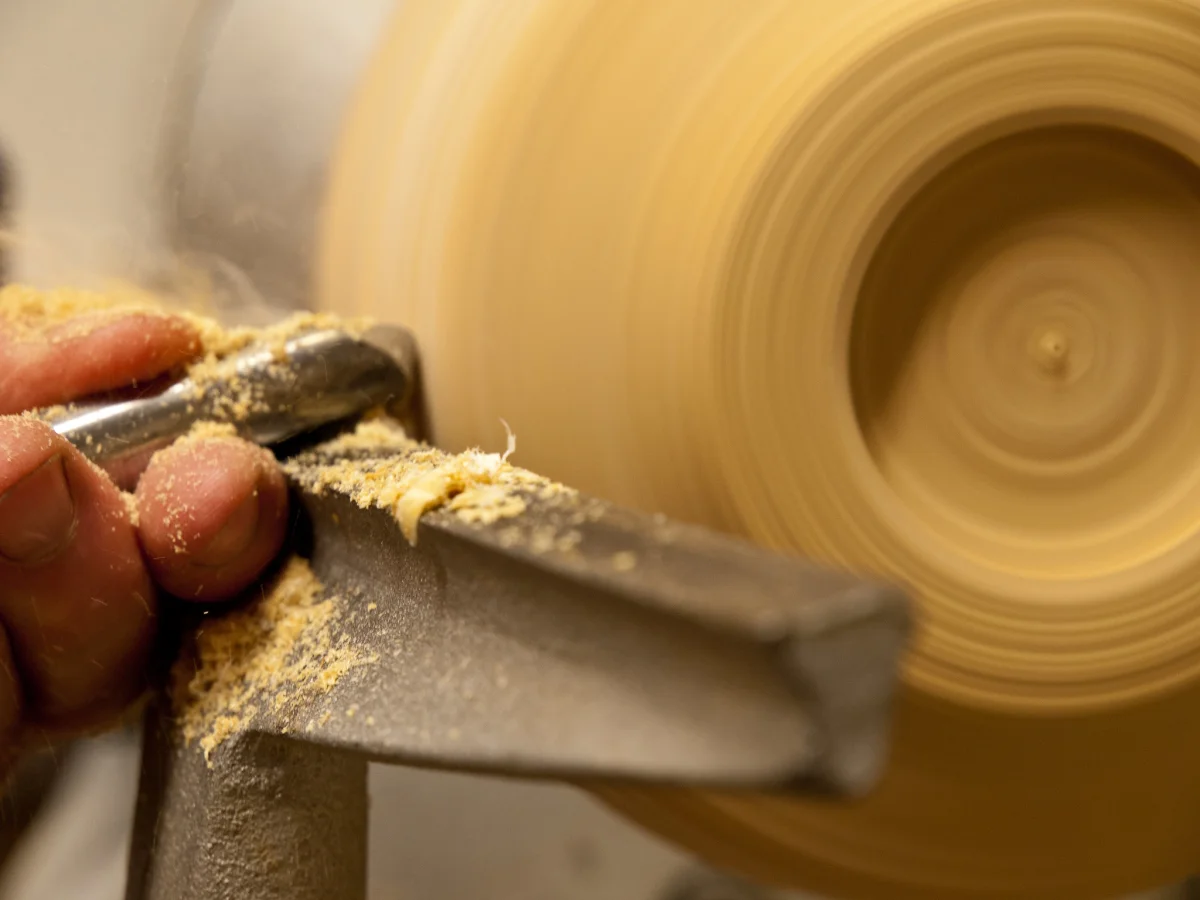
Once that was done, it was time to get back to turning. And as luck would have it, the traditional grind had our bowl gouge cutting like a carbide tool, if not better. As Cap'n Eddie Castelin would put it, we were “Makin Shavings!”.
All of a sudden, instead of making a million catches a minute, we were tearing through the blank with complete control over the side walls and inner and outer shape. A true YouTube slow-mo-worthy experience, with cherry shavings flying away.
Its moments like these that truly capture the essence of woodturning. It’s not a perfect art; you’re going to mess up and you’re going to learn from it. And with each little change and adjustment that you make along the way, you’ll be opening a door to the endless possibilities of woodturning.
The Return of The Rotted Wood
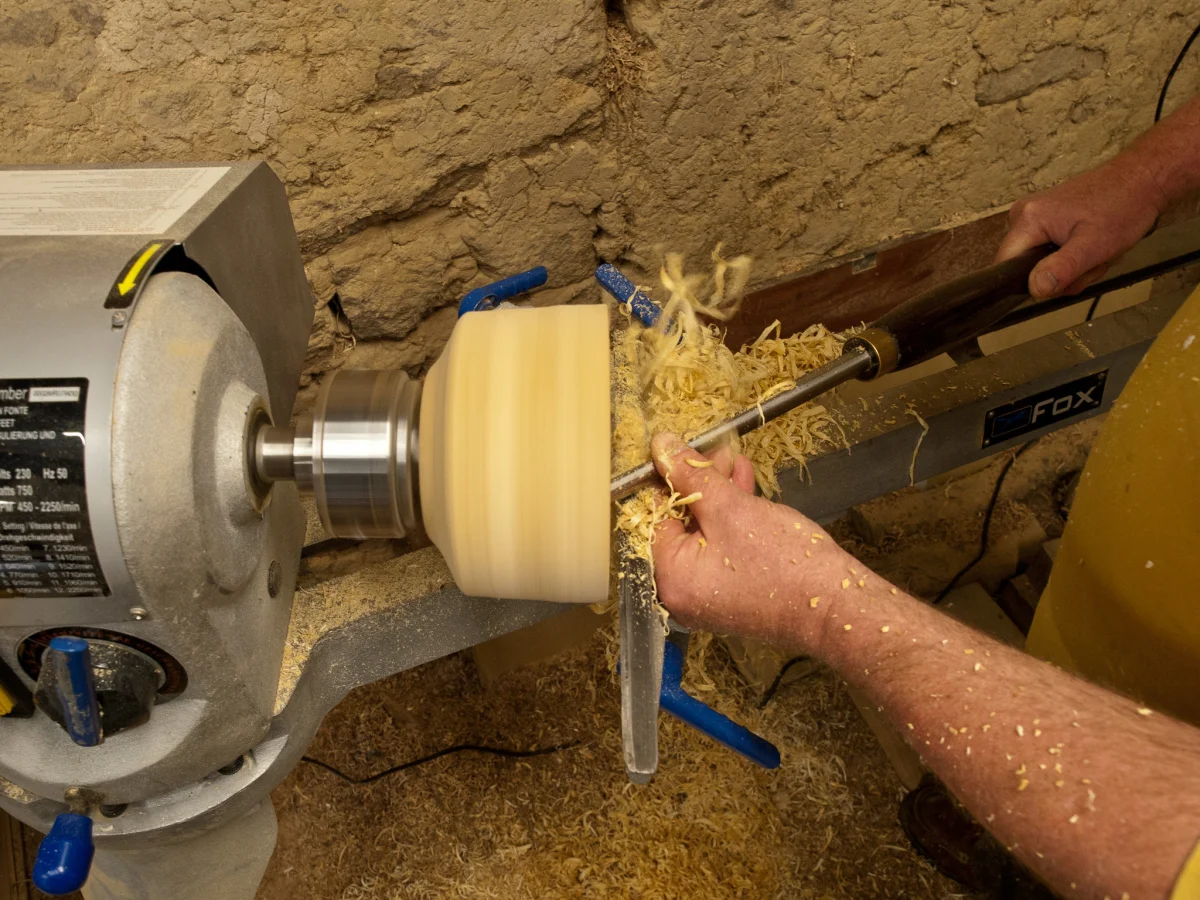
After the euphoric experience of finally conquering a bowl gouge, we stopped to take a look at our progress so far. If we may say so, we had turned a fine workpiece and were definitely still riding the high of taming the bowl gouge.
Unfortunately, what goes up must come down, and our high came crashing down when we spotted a patch of discolored wood soft enough to run a finger through.
For a moment, we genuinely believed we had reached the end of the line with this bowl. But as all good stories say: we would find a way.
The Wood Hardener Experiment
Should we have given up? Probably. Did we? Well, we wouldn’t really have an article (or a bowl) if we had.
We were determined to complete this project, and no amount of soft or rotted wood was going to stop us. Just as all hope was lost, the stars aligned to remind us of an old video we had seen where a fellow woodturner had been faced with the same situation.
Said woodturner, much like us, was undeterred by the rotted wood and turned to a “wood hardener”, which upon further research is exactly what it sounds like.
We picked up two cans for variety: J-B Weld’s Wood Restore Liquid Hardener and Minwax’s Wood Hardener. If you’re looking to pick up either of these for yourself, you can swing by Home Depot, but there are tons of other options that you can look into with a quick Google search.
To use a wood hardener, pour the liquid onto the softened area and allow it to soak deeply through. Then, allow the spot to dry completely. Wood hardener soaks deep into the wood grains and hardens over the course of a few hours. Therefore, you should have a sturdy piece of wood within a couple of hours.
During this process, we came across a couple of cracks and chips in our workpiece which we promptly filled with thin CA glue, wood shavings and dust. Once the cracks were handled, we let it cure for an hour.
After a couple of hours, behold, we had a solid piece of wood in our hands!
We remounted the workpiece and began turning again, and the wood hardener applied to the tenon held up amazingly. It kept the tenon solid and the chuck held tight throughout the process.
It is important to mention that after a little more turning, we decided to reapply the wood hardener to certain spots that we felt could do with a little more. Though that probably had more to do with our initial application than the performance of the product itself.
Wood Hardener VS Epoxy
Why didn’t we just use an epoxy instead of a specialty item like a wood hardener? A perfectly fair question, so let’s go over it real quick.
While epoxy is a more commonly found item, and is something you might already have in your workshop, it isn’t particularly suited to hardening soft or rotten wood.
The main problem is that most epoxies don’t penetrate wood.
Wood hardener, on the other hand, is designed to penetrate deeply softened or rotted wood and soak it through, after which it hardens right up. However, if you happen to come across an epoxy that can penetrate wood, don’t hesitate to send it our way.
To Conclude, Is Wood Hardener Worth It?
If you’ve read through this entire article and your main first takeaway is that we completely wasted our time and should have just tossed the blank out at the first sign of softness, you’re probably not alone.
However, this experiment was done in the interest of saving our time in the future. In case we ever encountered soft or rotted wood again, particularly on a larger project, we wanted to know if it would be possible to salvage the piece or if we would have to throw it out.
Given the outcome, we’d say that this experiment was definitely a good use of our time and we’ve certainly learned a bit more about woodturning and its possibilities. Furthermore, we now have a possible solution in case we do run into rotted wood again.
Plus, a pint of wood hardener only ran us about $10, of which only a fifth of it was used, if that. All in all, we probably used about a dollar or so worth of hardener. Considering the time we’d already spent on the initial shaping process, it was well worth it.
In our opinion, if you’re more than an hour into a project, it’s worth a shot.
Written by Vince
Vince is a woodturner and the founder of WoodturningOnline. He writes tool reviews, buying guides, and turning tutorials to help woodturners at every level make informed decisions about their craft and equipment.