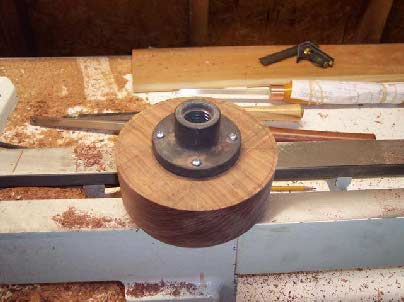
Ok, first I started with a blank about 6-1/2″ diameter by 2″ thick. This will give me enough to dress up the edge anyway I want. It’s screwed to a faceplate.
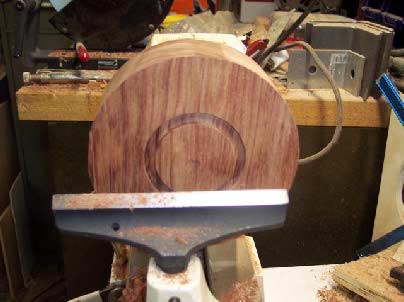
Next, I mark for the foot. I want it 1/3 the diameter so this one is 2″ across.
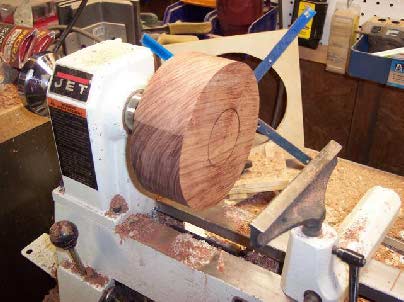
A better pic.
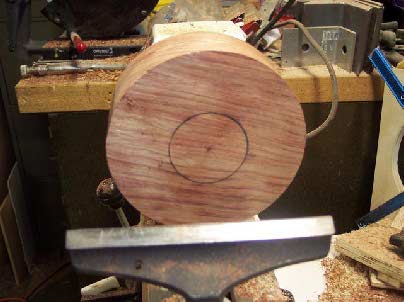
Next, I take my parting tool & cut in about 3/16″ deep. If I have any issues I have enough to play with to fix the problem.
I turned the shape until I like the way it looks. This one flows nicely.
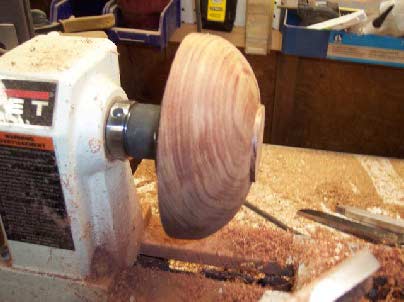
I take a 2″ hook & loop sanding disc to sand around the foot so I can get right to the edge.
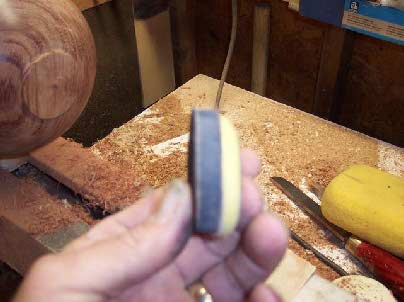
Starting with my 80 grit gouge, unfortunately. You’ll find out soon why.
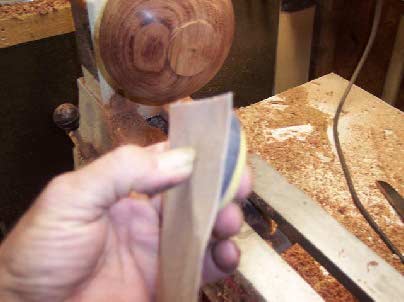
Before you yell at me for not having dust collection. I dismantled it & forgot to take a pic I use the magnifying glasses so I can see the scratches easily.
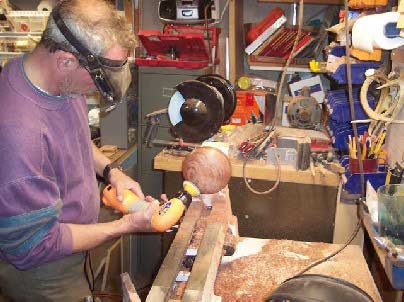
Just a sanding pic. Using my cheap Harbor Freight angle sander, It works well though. I sand up to 320 or 400 grit.
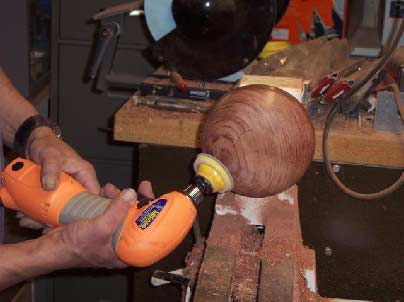
This is why I needed the 80 grit gouge I got some tear-out that I couldn’t get off even shear scraping.
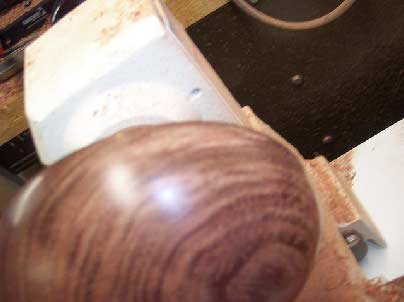
Now it’s reversed & held by my chuck in compression mode.
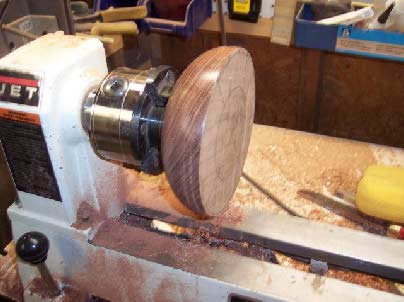
I mark a 1/2″ circle final diameter (it’s too light to see) then a 1″ circle. The reason is so I can sneak up on the slope. I want the top to be 1/2″ this gives me plenty of wood to work with.
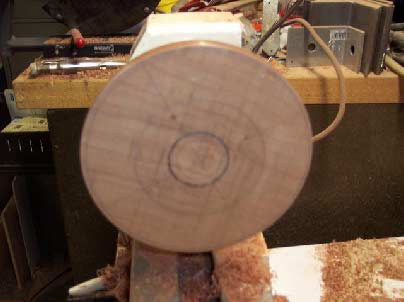
I reached the 1″ mark, now to refine the shape of the slope to what looks pleasing. I alternate taking it off from the center out then from the edge in.
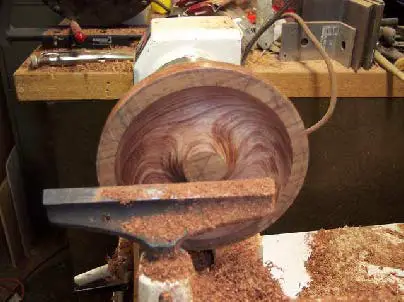
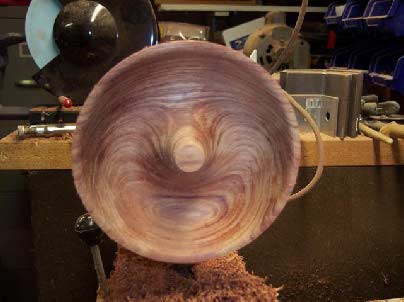
I want it to flow nicely from the top to a gradual flow into the base of the bowl. I want the slope of the center to approximately mirror the slope of the outer edge of the bowl. I also finish the rim type I want. This one has some fabulous grain patterns I’m very pleased with.
Just a piece of cotton t-shirt material to help protect my fingers from the heat from sanding.
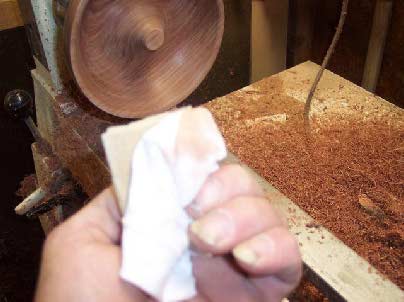
Another pic holding both the sandpaper & rag together.
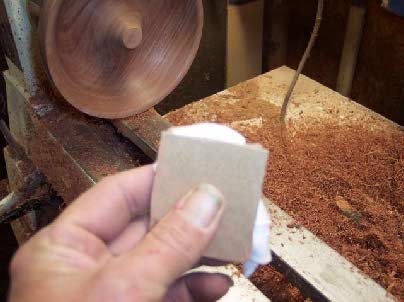
See here is another pic of that dang tear out. Very frustrating.
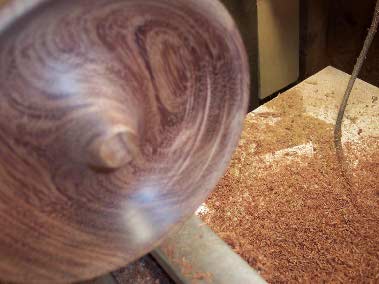
finished sanding & the bowl is a little under 6″ now you can see how the center flows from the top to gradually go into the bottom. & there is plenty of room for bracelets etc…
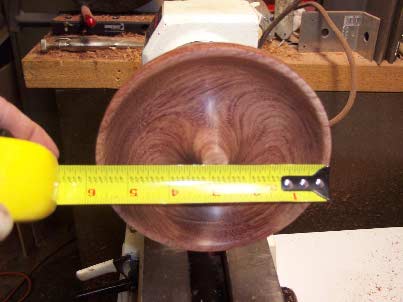
Finial time. I take an Ebony pen blank hold it in my chuck & round it off.
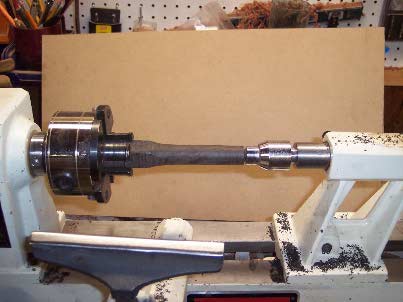
I put a mark 2-1/4″ from the end this will give me some room in case I have issues with the very top & need to redo the tip.
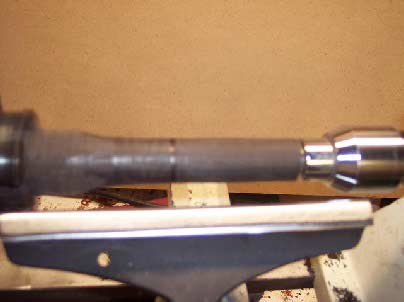
I take my calipers & get the size of the center then add 1/8″ bigger and then part to that size. I add the extra 1/8″ so I can sneak up on the final dimension.
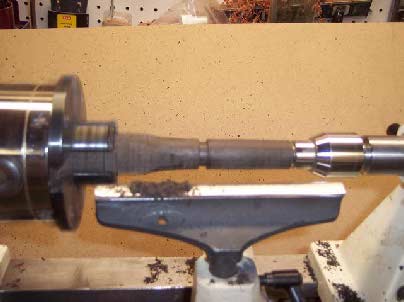
Well, the finial is finished. I also snuck up on the dimension of the center part. I just took about 3/16″ more under the base but left enough for sanding. The tenon part is about 3/8″ right now.
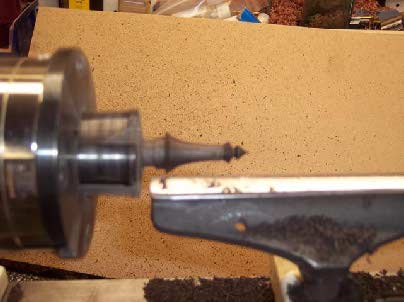
Just double-checking the final size of both the base of the finial & of the tenon to make sure I didn’t screw up.
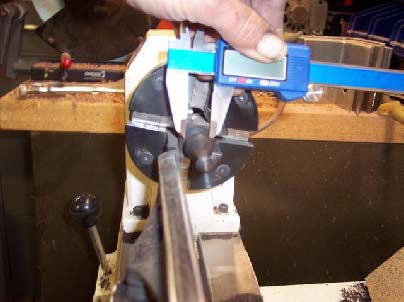
This one I’m just about finished sanding just some final things. In between each grit of sanding, I wipe down with DNA to get rid of the dust & any particles that came off the sandpaper.
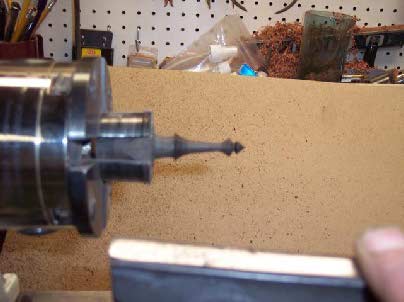
Here I am turning down to the final size tenon. I like to go with at least 3/16″ – 1/4″ tenon for strength. (I broke one before cause I made it to thin just inserting it into the bowl)
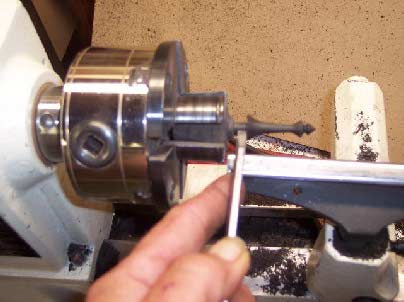
This I’m putting a slight undercut so I’m sure the edge of the finial sits flush to bowl.
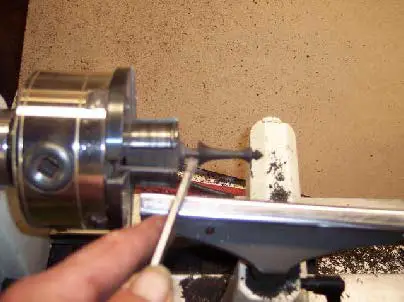
The reason I’m using these jaws is cause on this bowl instead of having a straight foot I made the outside into a half bead. If I made a full bead I wouldn’t have been able to hold it in my chuck. So the foot curves to the outside & the inside is straight-sided. Also, my other jaws wouldn’t close far enough so I had to change jaws.
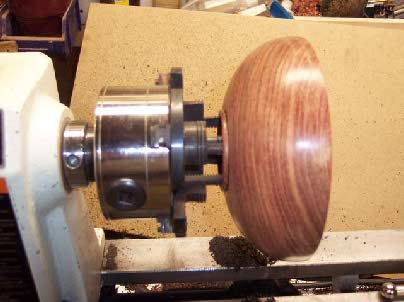
Here I put tape so I know when I reach my final depth. I like to make the length of the tenon about 1/4″ – 3/8″ so I have a decent amount of gluing area.
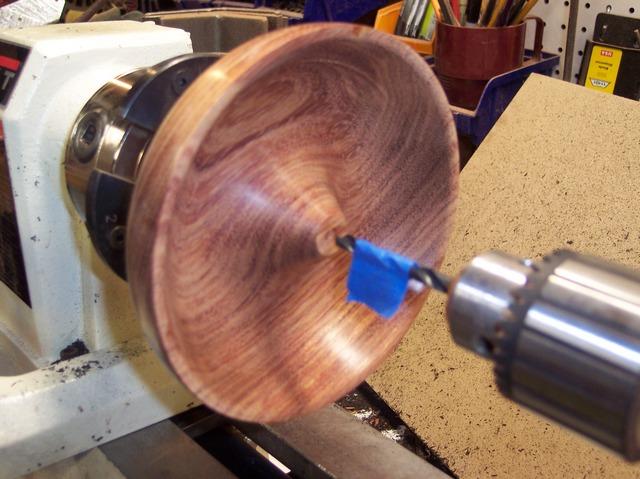
Here I am checking the fit of the finial & the tenon is a tad too tight so I hand sand with some 220 grit.
The fit is much better after sanding a tad off. I also cut off with a razor knife about 1/32″ of opposing sides so if I put a little too much titebond II glue it doesn’t push the finial out but gives the glue a place to come out then just wipe it off.
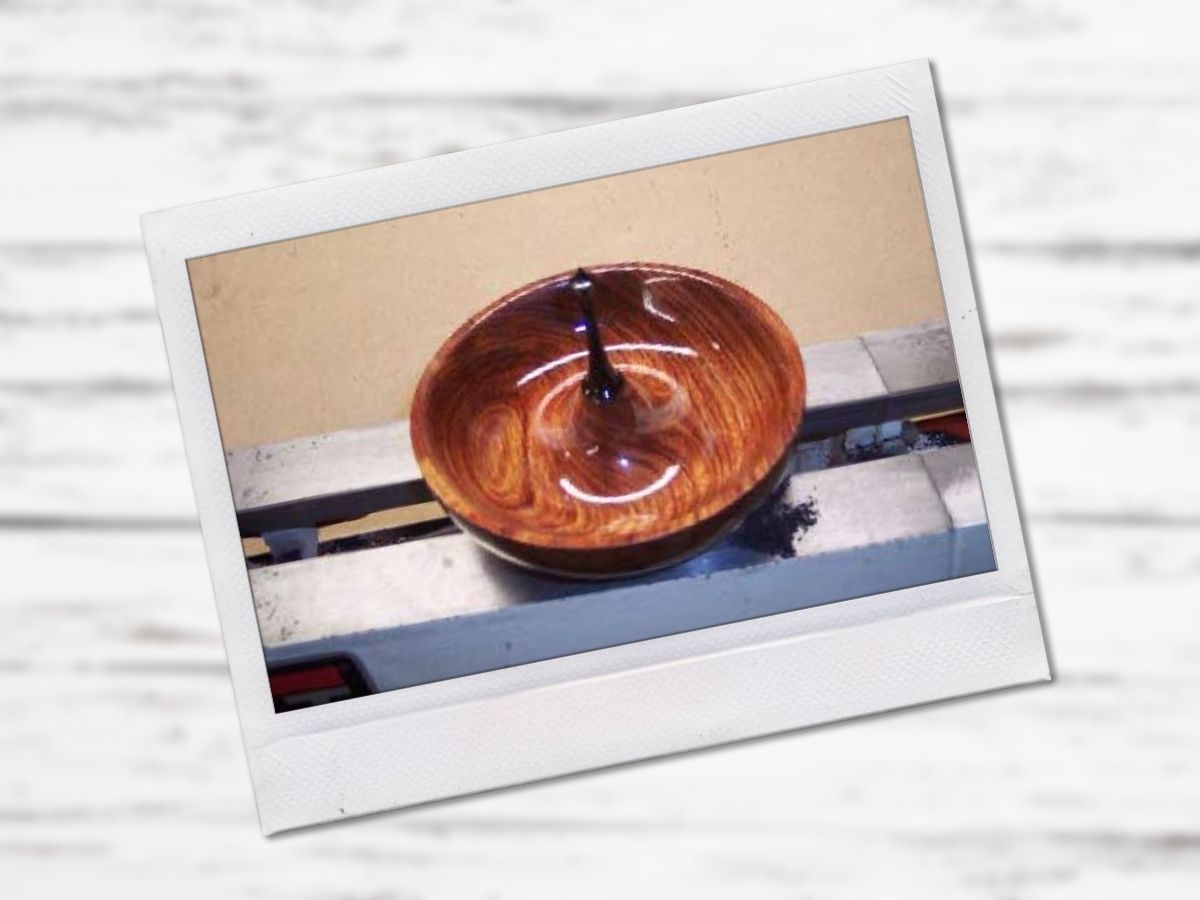
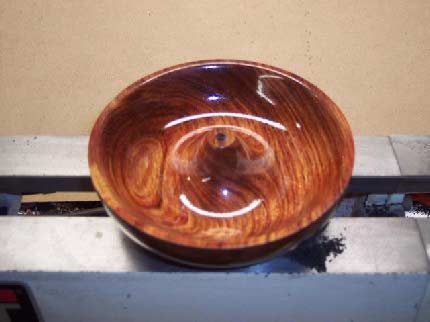
First 2 coats I used 600 grit, then between the next 2 coats, I used 800 This is after 7 coats of Minwax poly. In between the grits, then nothing between the last 3 coats. All of the coats were kind of medium not too thin or too thick. I dipped a small piece of white cotton t-shirt rag in a baby bottle then squeezed it out. Look at the color & the grain it’s fantastic this is my best bowl yet for shape, form, color & grain. I let each coat dry for 24 hours to make sure it was cured.
On the finial, I took it outside & cleaned it very well with acetone then quickly put on a coat of Cabot high gloss spray lacquer to seal the wood. I have a total of 4 coats on it. Again waiting for 24 hrs between each coat.
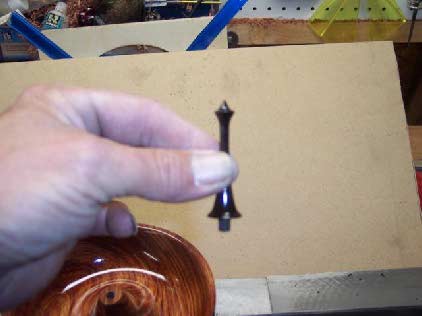
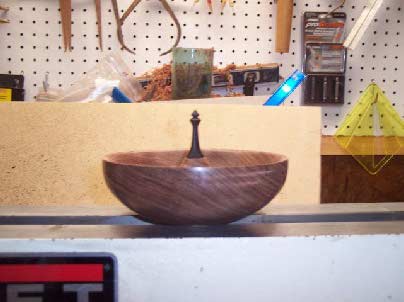
This is a side view (finial not glued in yet).
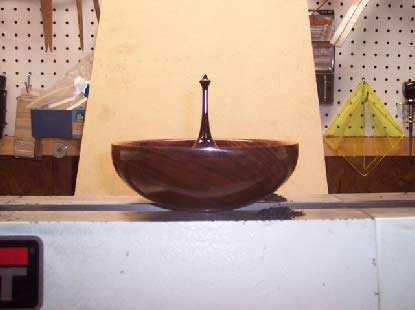
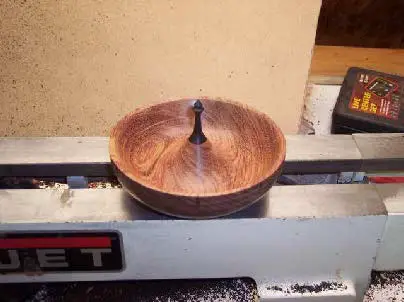
A close-up shot of the bowl with the finial glued in place.
Look at the color & grain it’s fantastic.
I’m very pleased with this one.
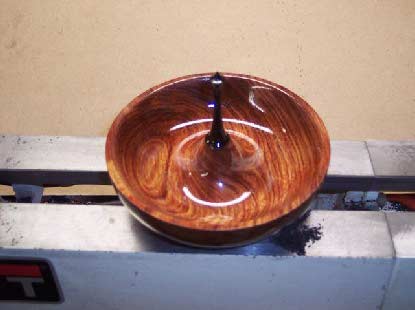
That is the way I make my ring bowls. I hope I made this easy to understand. I hope it gives you some ideas. Let your imagination fly.
This project comes to us from Chuck Beland.
