Project: Turning a Wood Ring with Veneer Inlay
This is a project that Francois Audeon kindly let us host.
Finished Ring
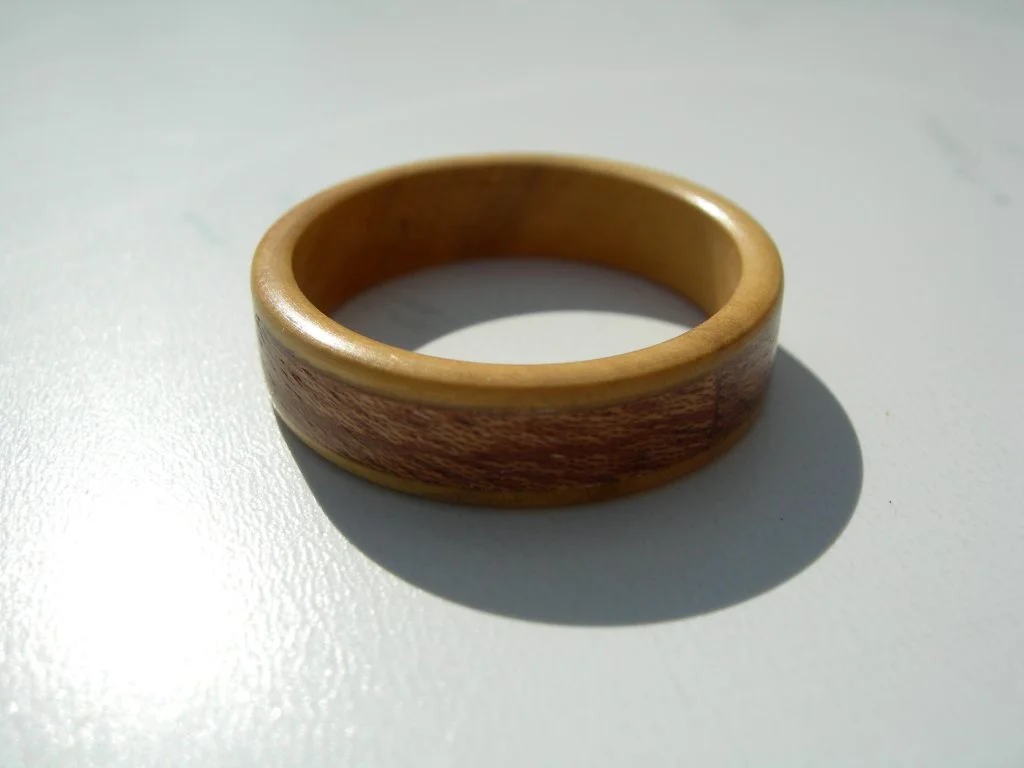
This is the finished ring. It is made out of boxwood and mahogany veneer. It's a U.S. size of approximately 10 1/2 with an internal diameter of 20,8 mm.
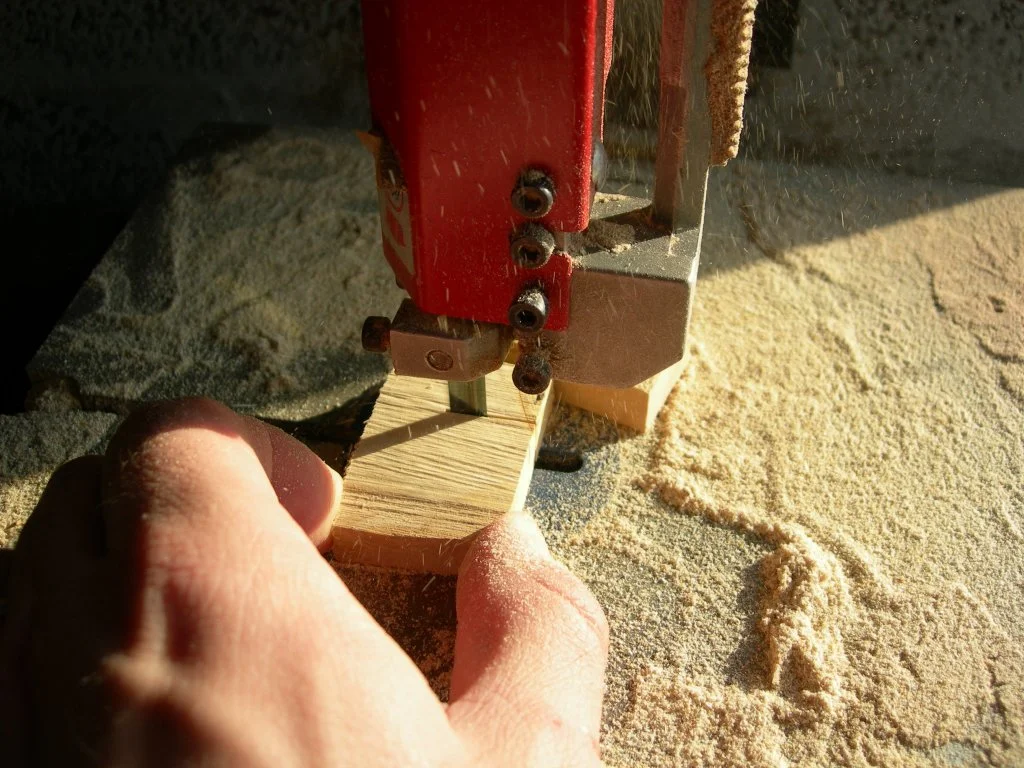
 Sawing the boxwood on the bandsaw
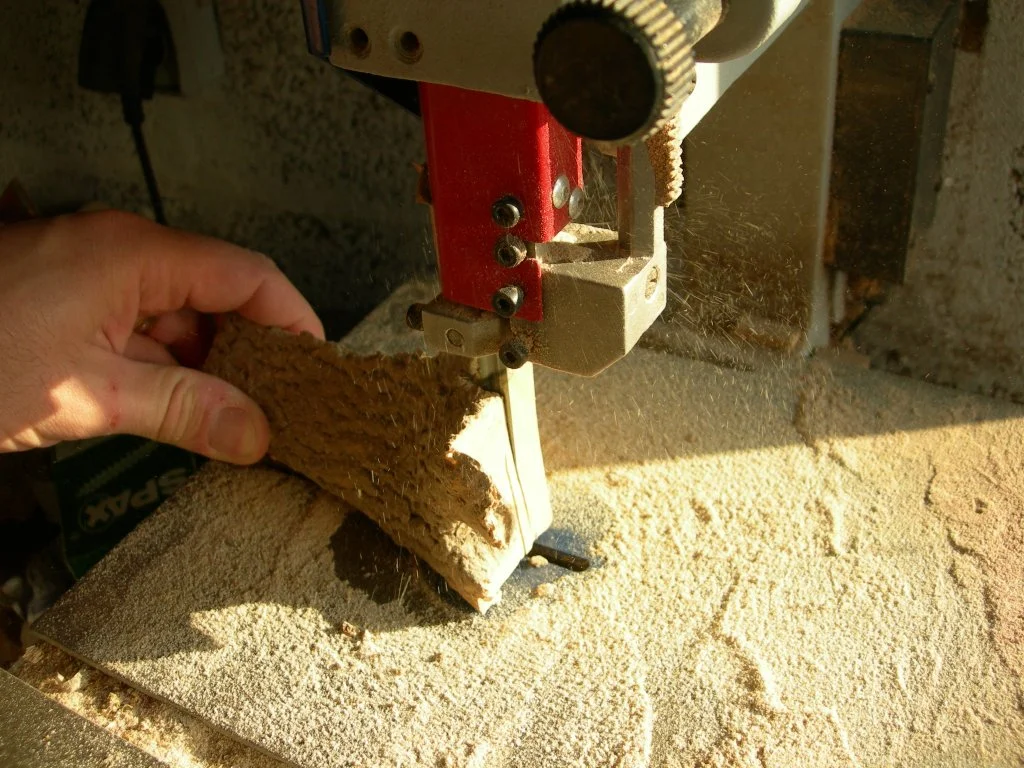
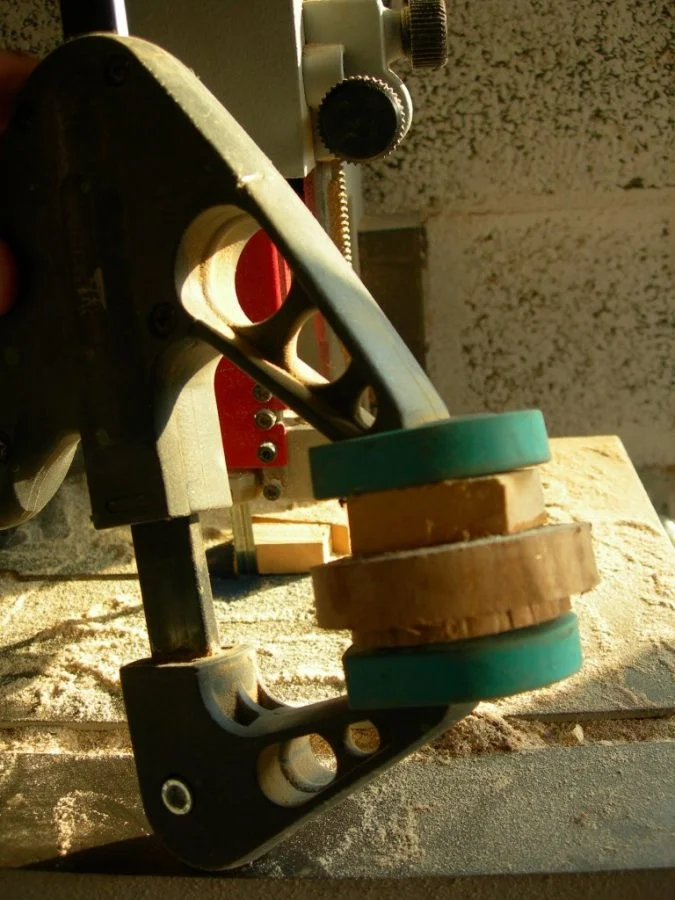
 Rough cutting the wood blank on the bandsaw before turning
The basis of the ring is cut on the bandsaw out of a piece of boxwood.
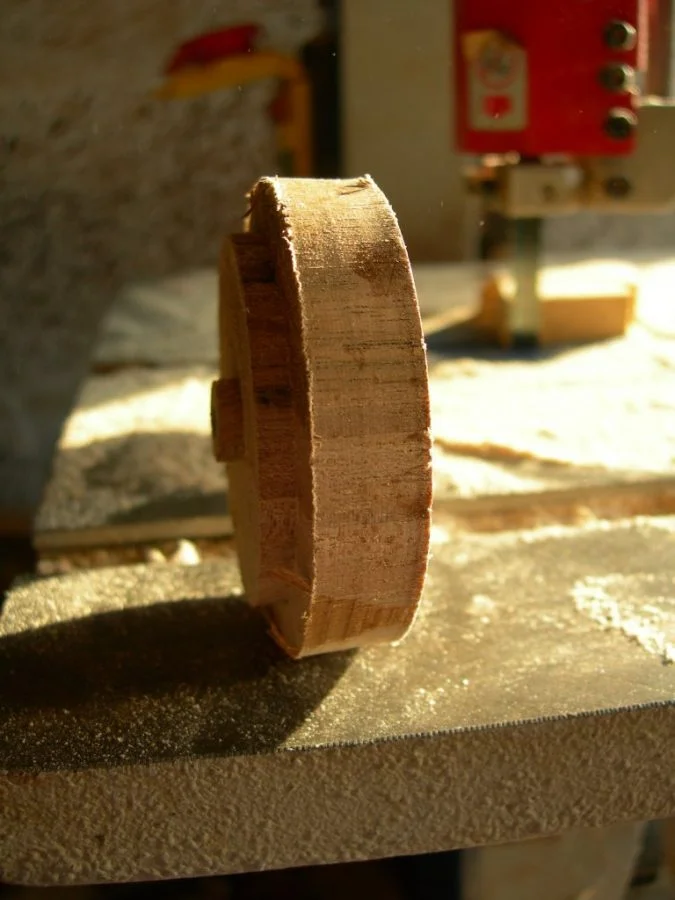 This piece of boxwood is the basis for the ring
 A small piece of wood is added to make a glue block
The blank is then glued with CA glue on a piece of wood turned to fit the jaws of the chuck. The wood is glued in a faceplate turning orientations (like a bowl). This gives the strongest grain orientation for a ring.
 Roughing the wood ring blank
The assembly is then mounted in the chuck and roughed out using the bedane; hold with the bevel down, this tool acts as a straight scraper.
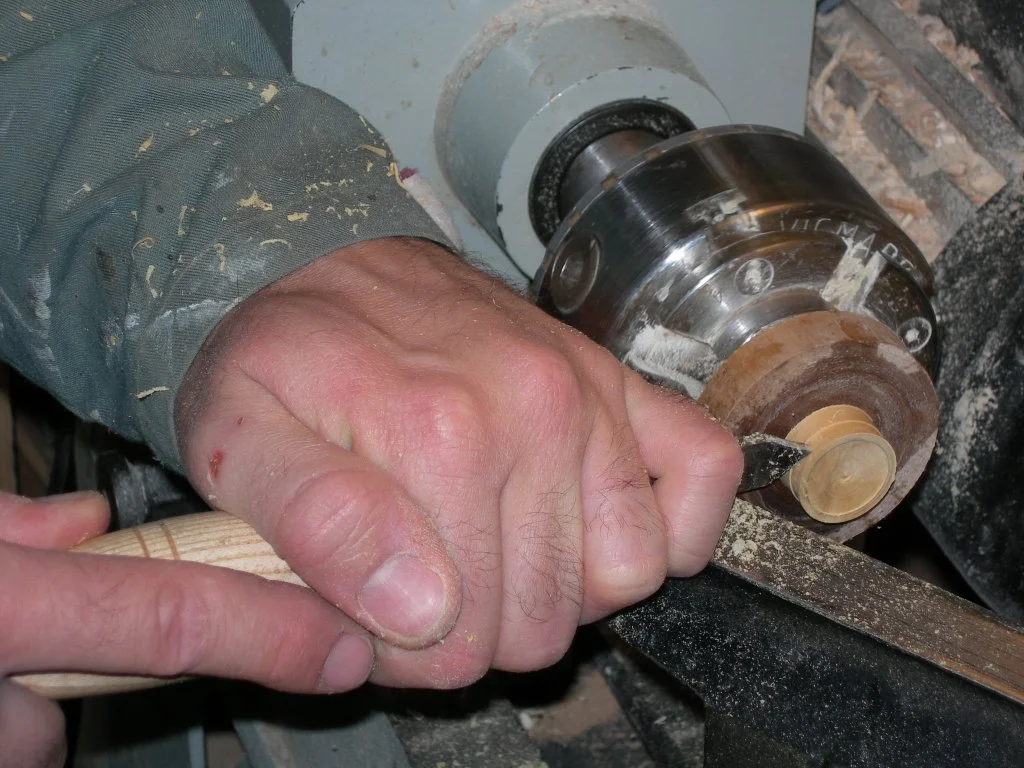
 Tracing the outer diameter
The internal diameter of the ring is marked on the spinning lathe.
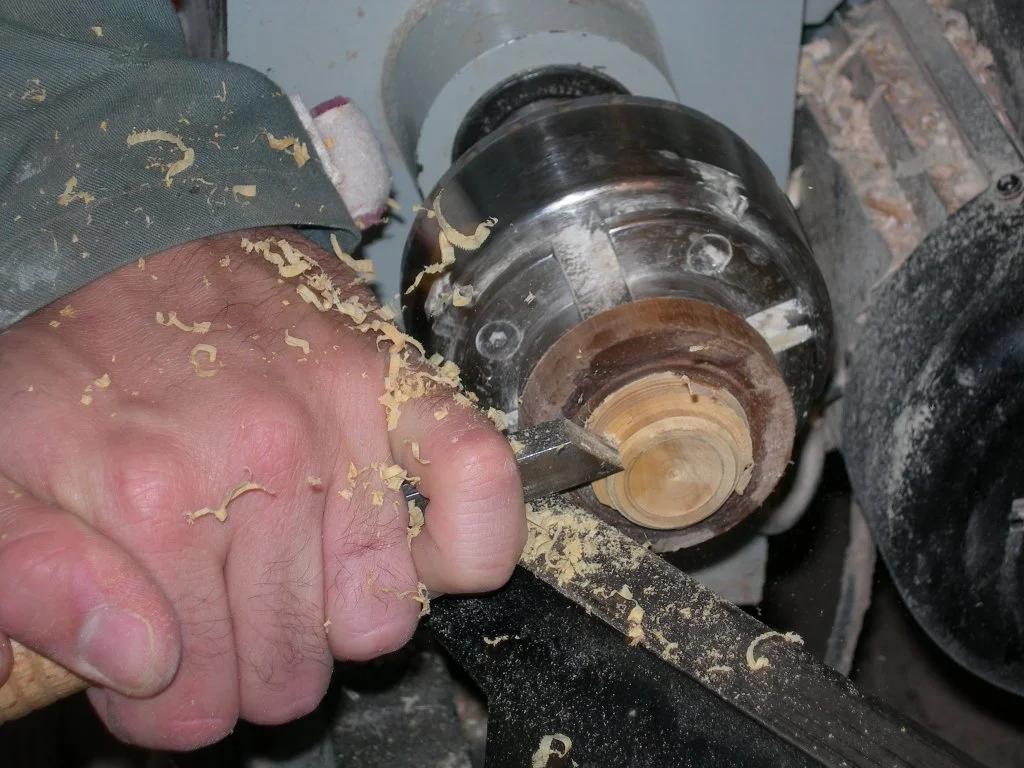
 Cleaning up the outside diameter
The external shape is cut with the bedane, now hold with the bevel in upward position; one could also use a skew chisel or a spinning gouge.
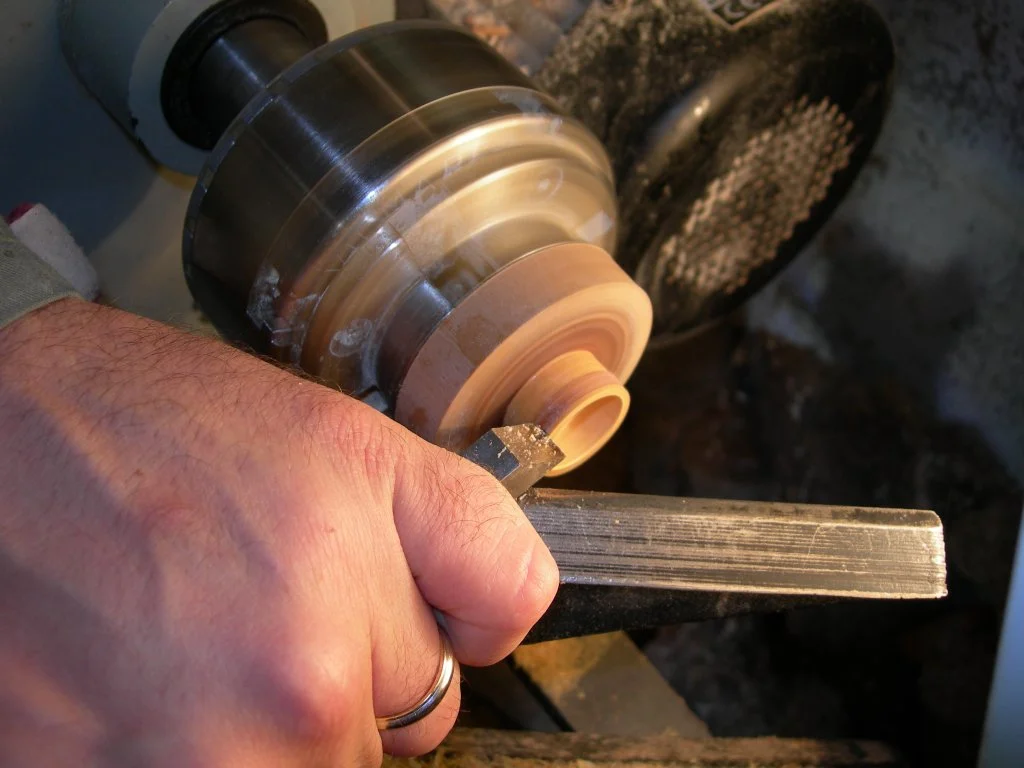
Turning a recess to hold the vineer
The next step consists of creating the recess in which the veneer stripe will be glued; this operation is made using a narrow tool like a parting tool.
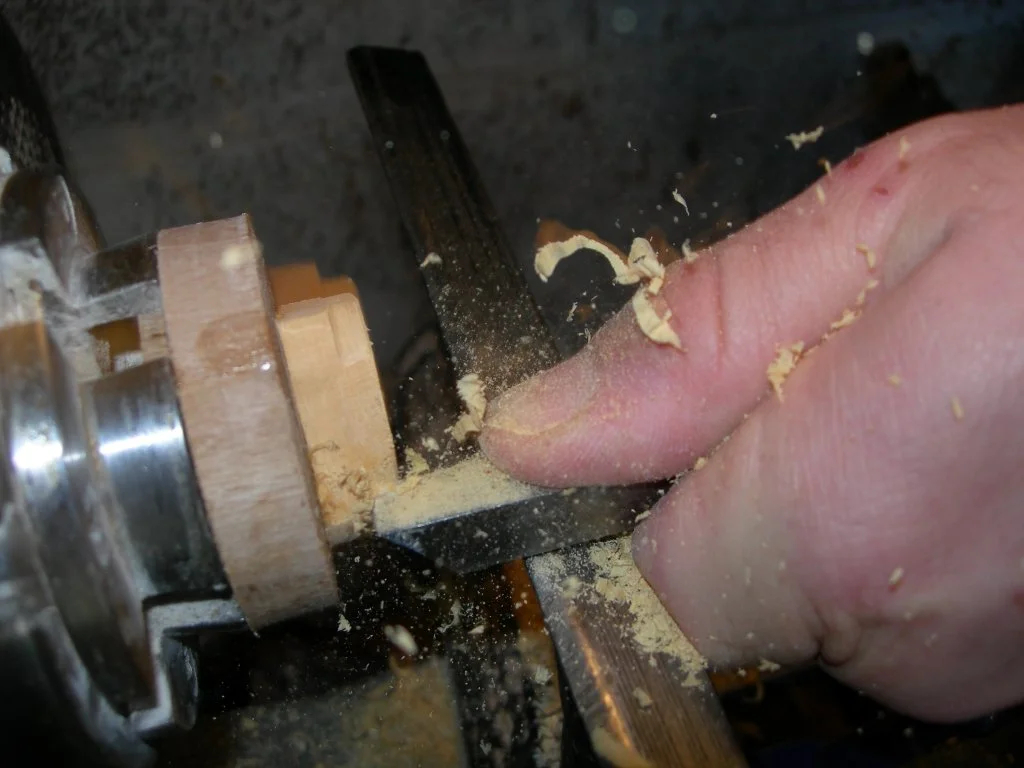
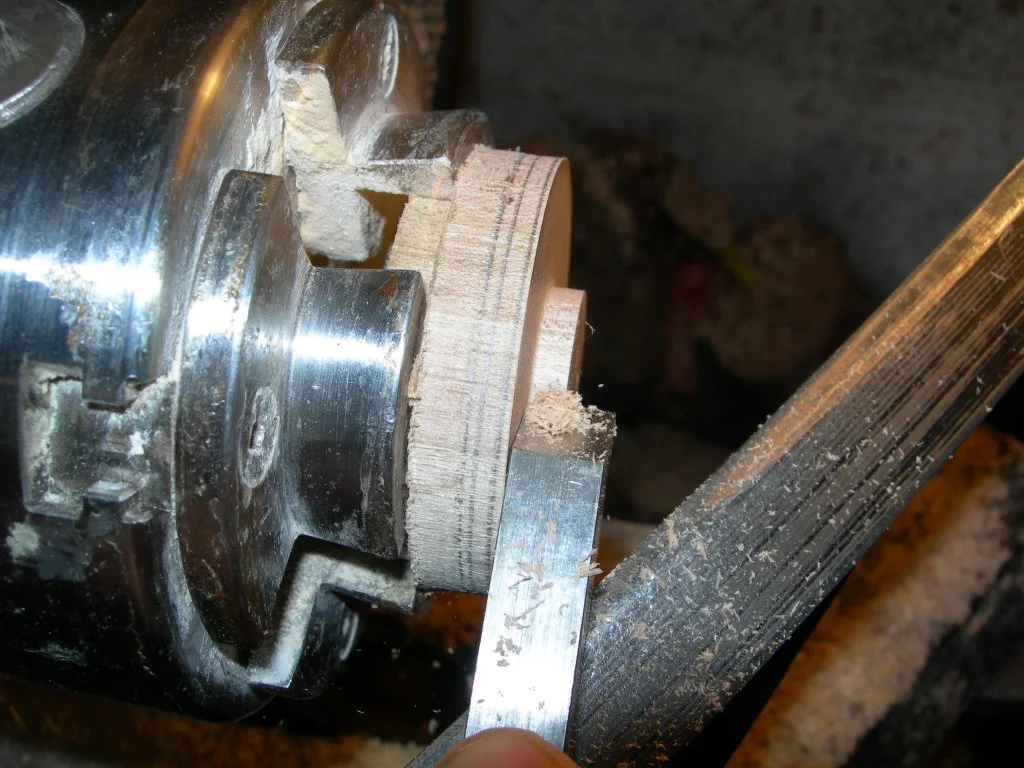
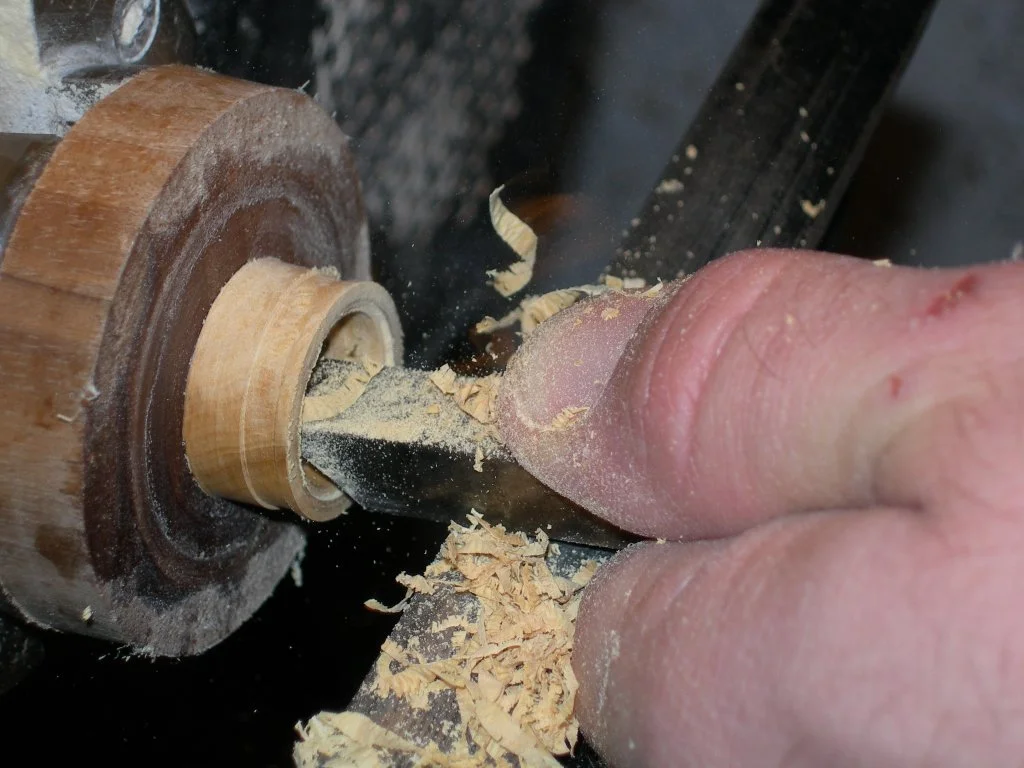 Hollowing out the inside of the ring
The ring is then hollowed with the bedane in a downward position. In this specific case, the position is relatively higher than the median axis to avoid that the bottom of the bedane hits the work.
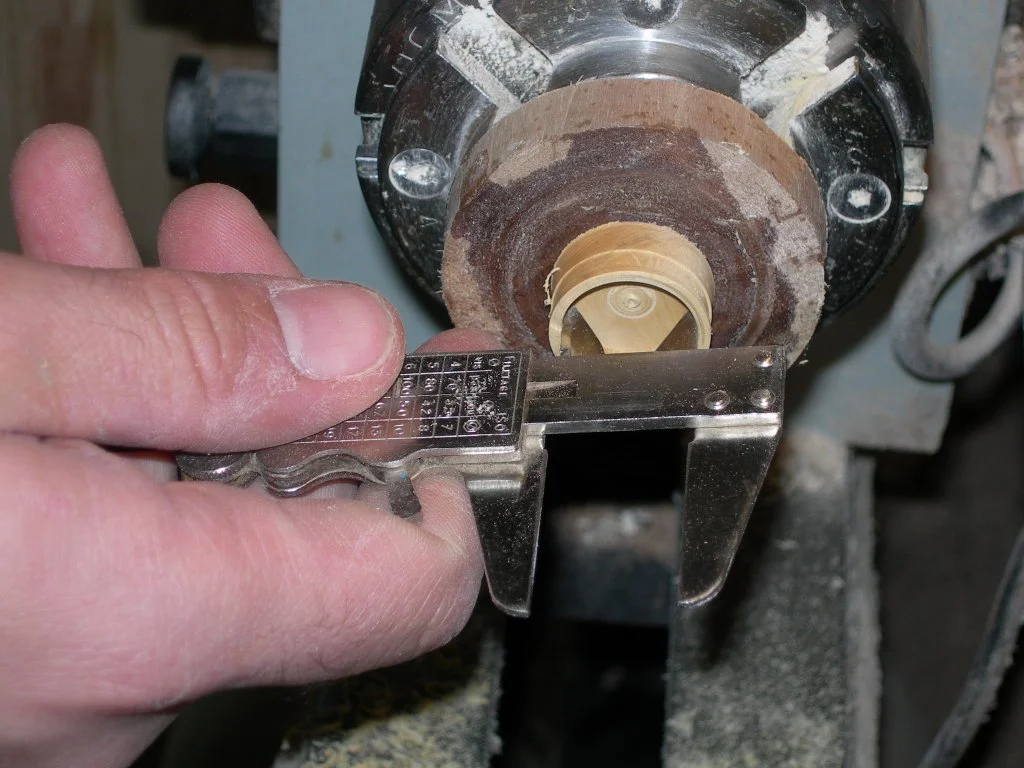 Measuring the inside of the turned ring
The diameter is periodically checked with a caliper until the exact diameter is reached (here 20,8 mm).
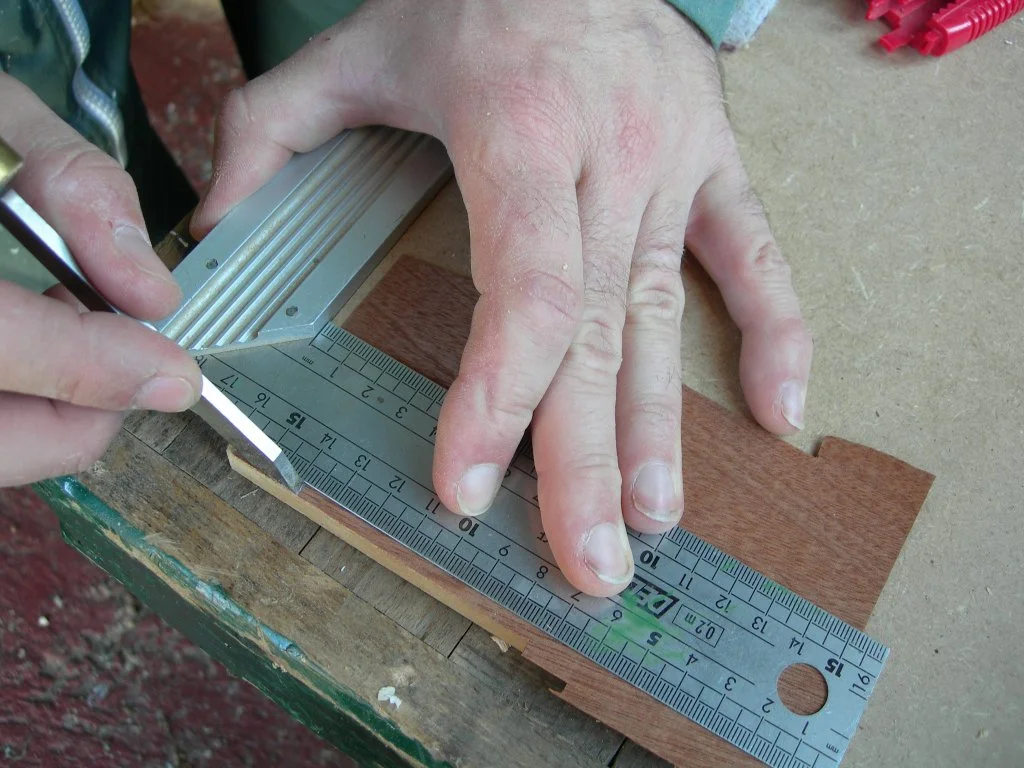 Measuring the veneer to go into the recess
The width of the veneer stripe is determined by the tool used to create the recess.
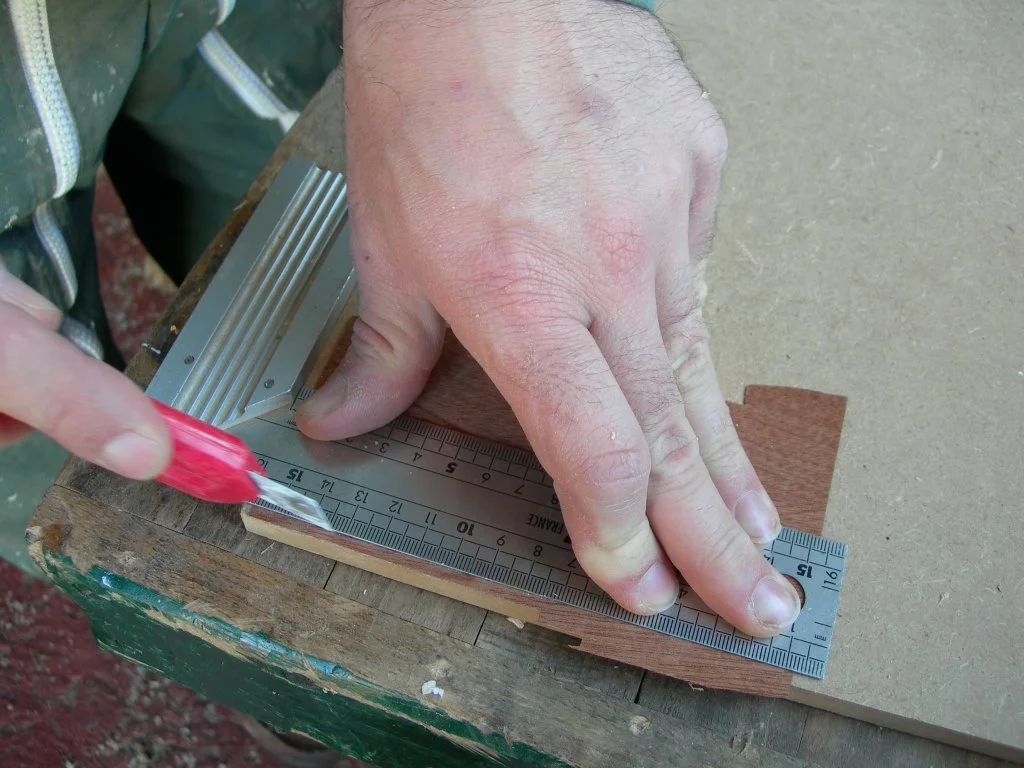 Cutting the veneer
The veneer is cut with a cutter.
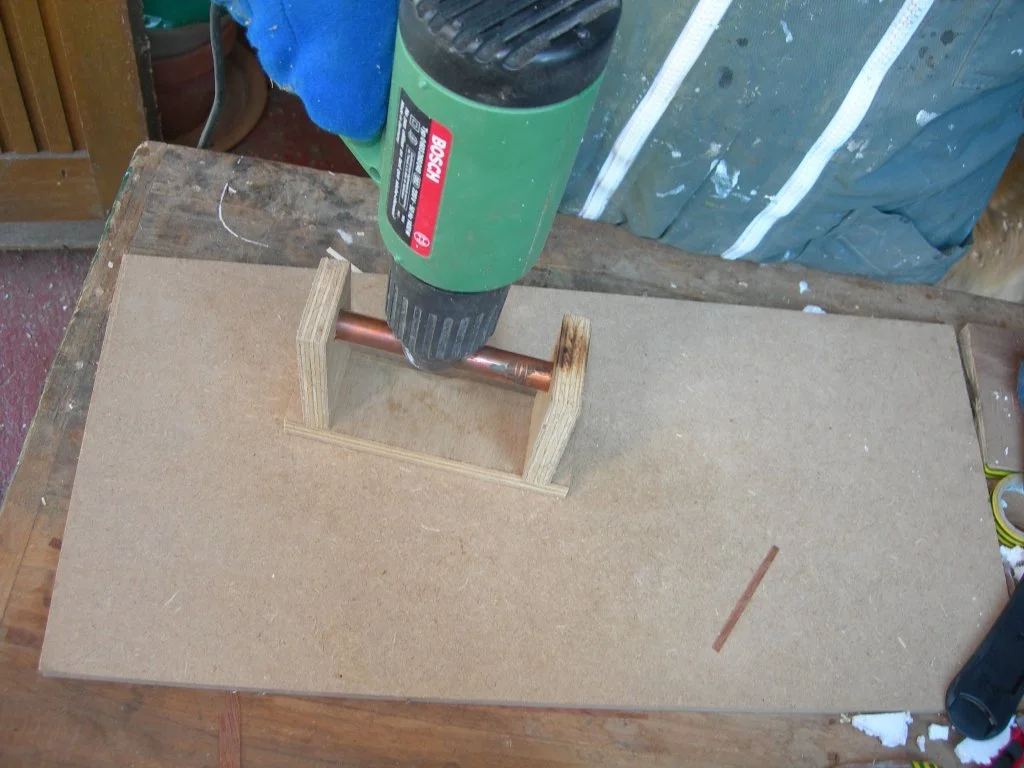 Heating the veneer bending jig
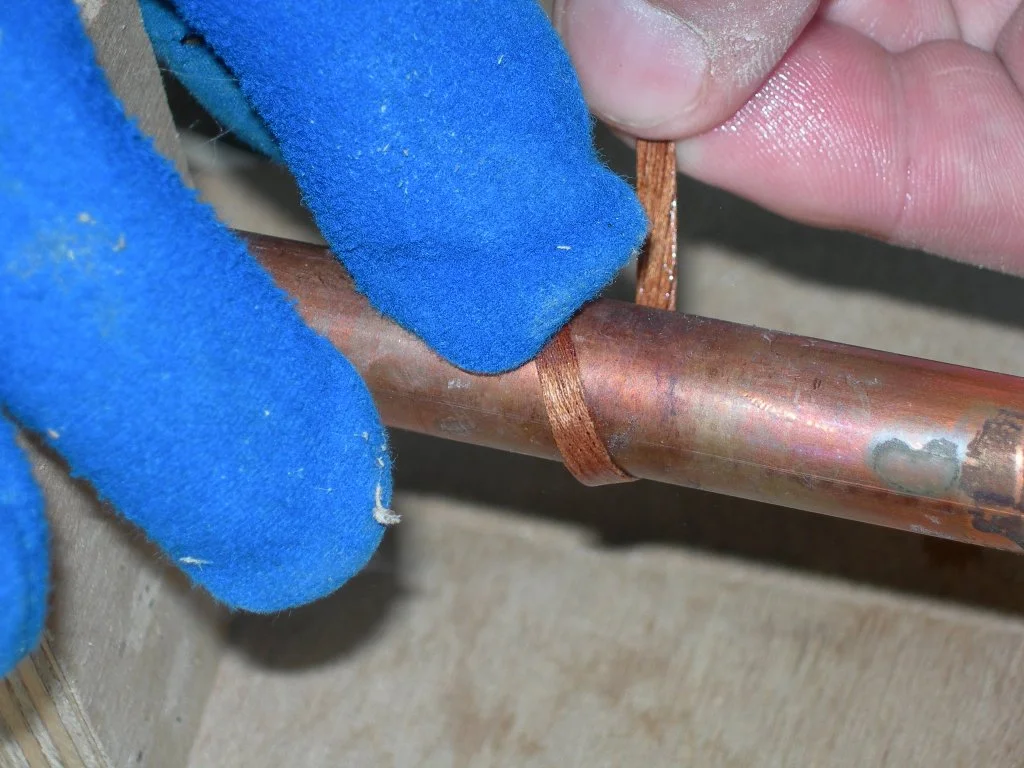 Shaping the veneer with the heat on a bending jig
To give the veneer a rounded shape, without splitting or cracking it, I use a homemade "bending iron", actually a copper tube heated with an air gun on which I shape the dampen veneer stripe.
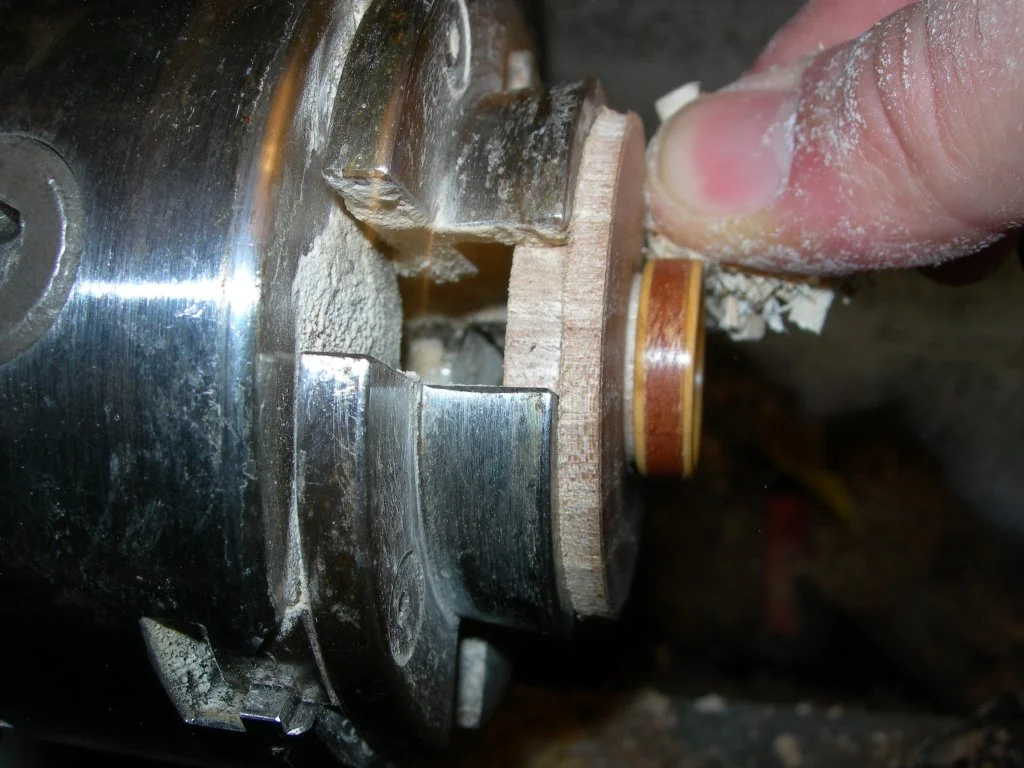
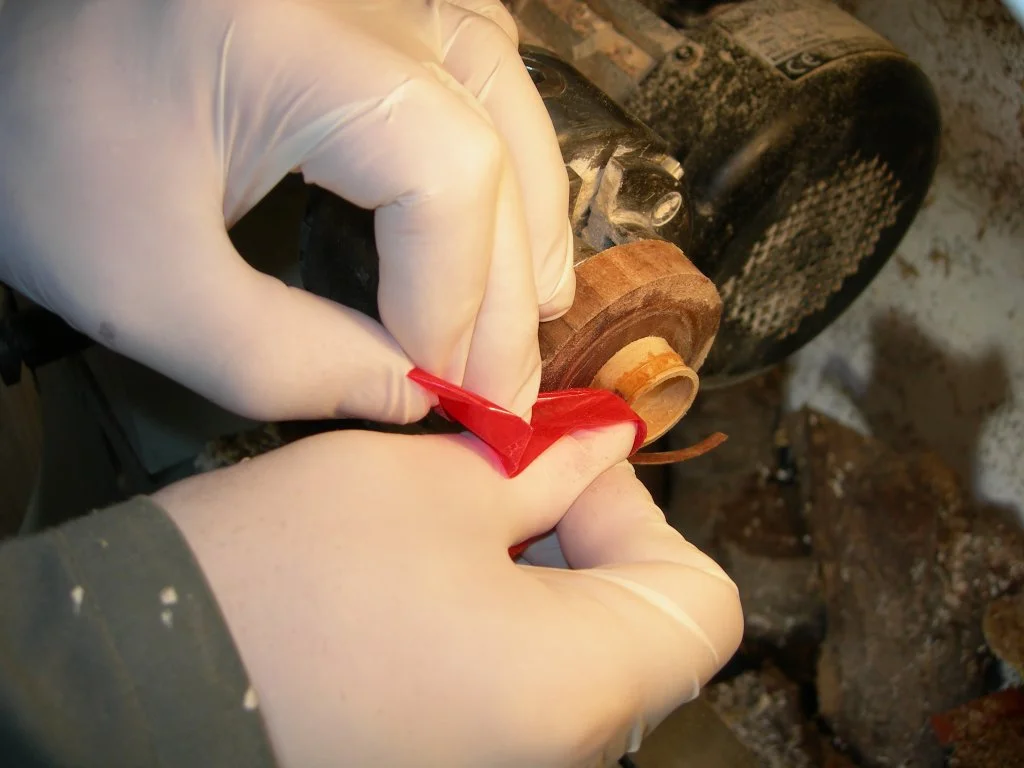 Gluing the veneer into the recess
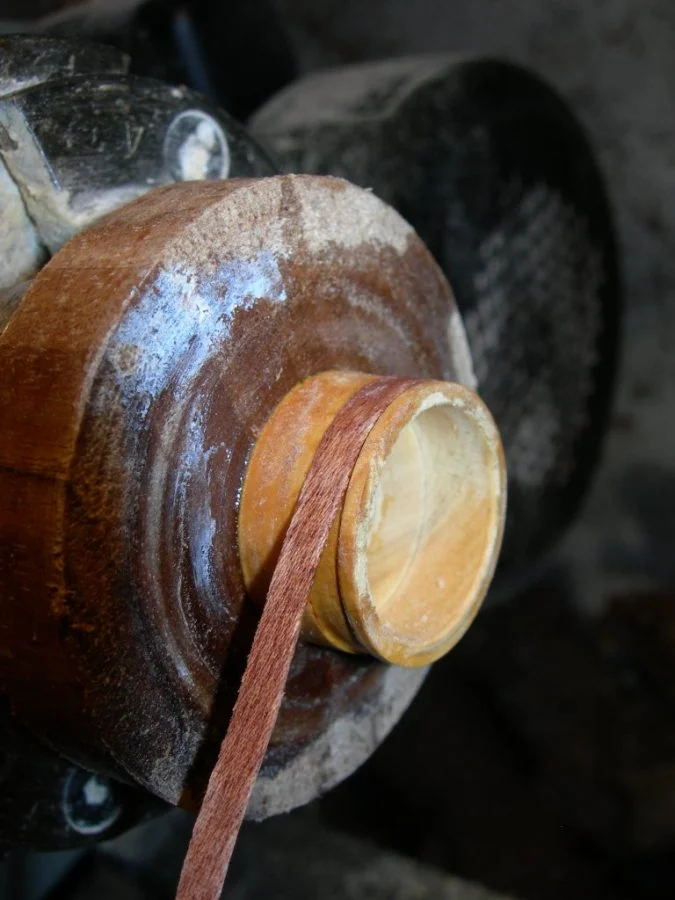 Gluing the veneer into the recess
The veneer is glued in the recess using CA glue. The glue will set on your skin in a few seconds, so I wear gloves and I use a small stripe of the adhesive tape to keep the veneer in place while the glue sets. However, I mainly use the non-adhesive side of the tape to press the veneer with the finger while the glue dries (this avoids the adhesive side sticking to the wood)
Since the grain of the wood is perpendicular to the bed of the lathe, you have two weaker spots where the grain is shorter. You should start the veneer joint at 90 degrees where the grain is the longest; as the grain of the veneer is continuous it will reinforce the weak spots. Also, I'm quite generous with the glue, which also helps to add more strength.I've tried splitting a finished ring between my hand - like you would do for a nut - and couldn't break it. Also, I've plunged one for 3 weeks in water to see if the glue would resist, and I didn't observe any issues.
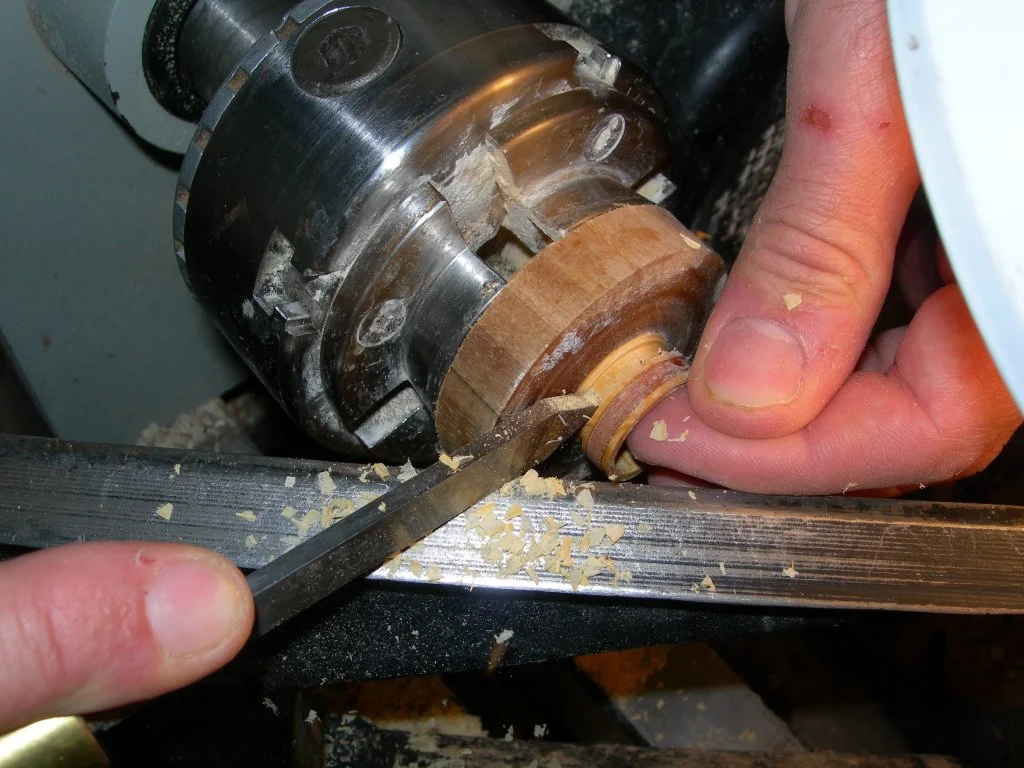
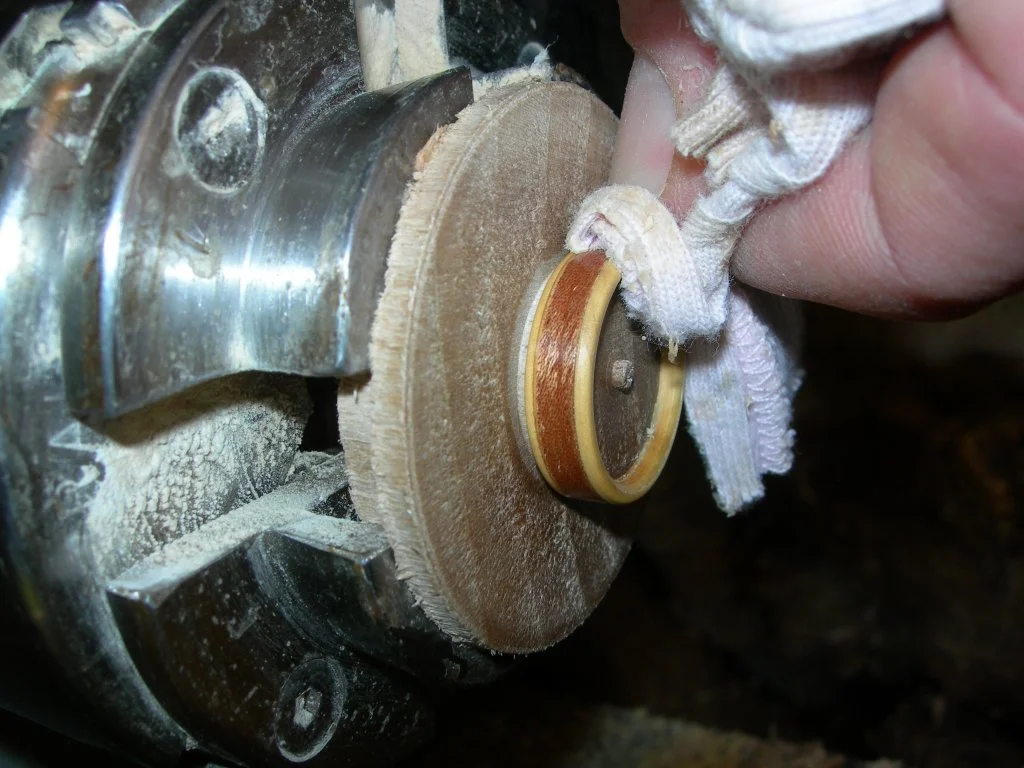
 Removing the excess glue from the wood ring
Excess glue is removed with the bedane. The veneer is only about 0,6 mm thick, so one must take a very thin cut to avoid cutting through it!
 Parting the wood ring off the lathe
The ring is parted off the glue block using a parting tool.
 Make your own sander on the lathe
Make your own sander; a piece of sandpaper has been glued to a dowel in a block using CA.
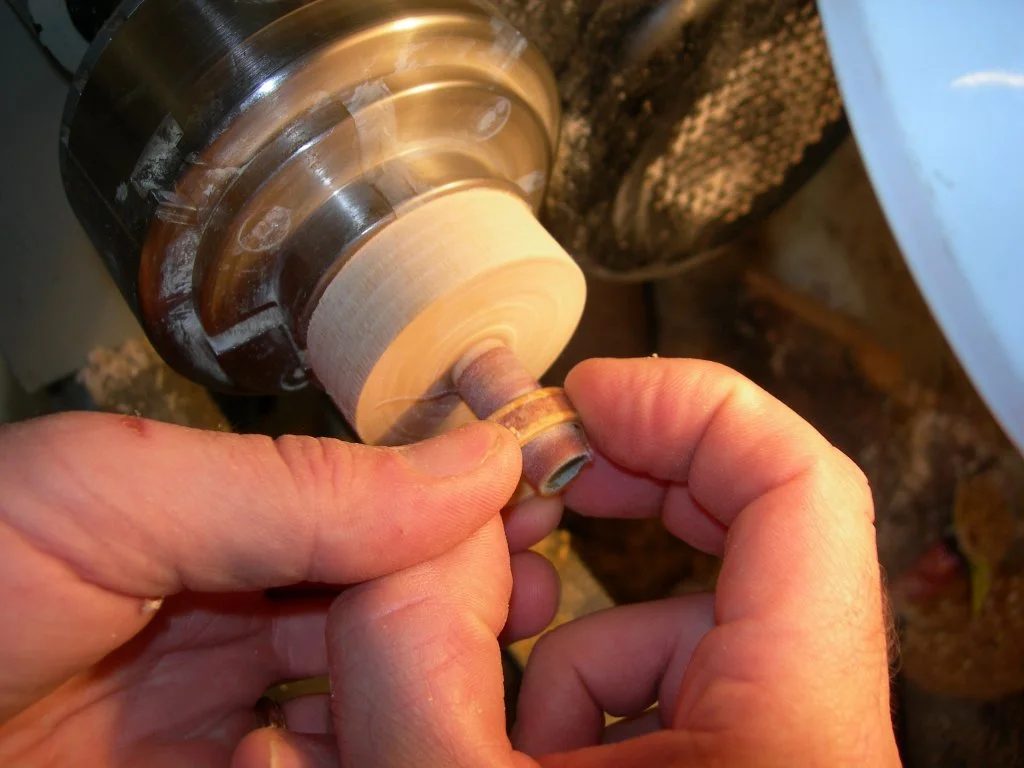 Sanding the inside of the turned ring
The inside of the ring is sanded on the cylinder.
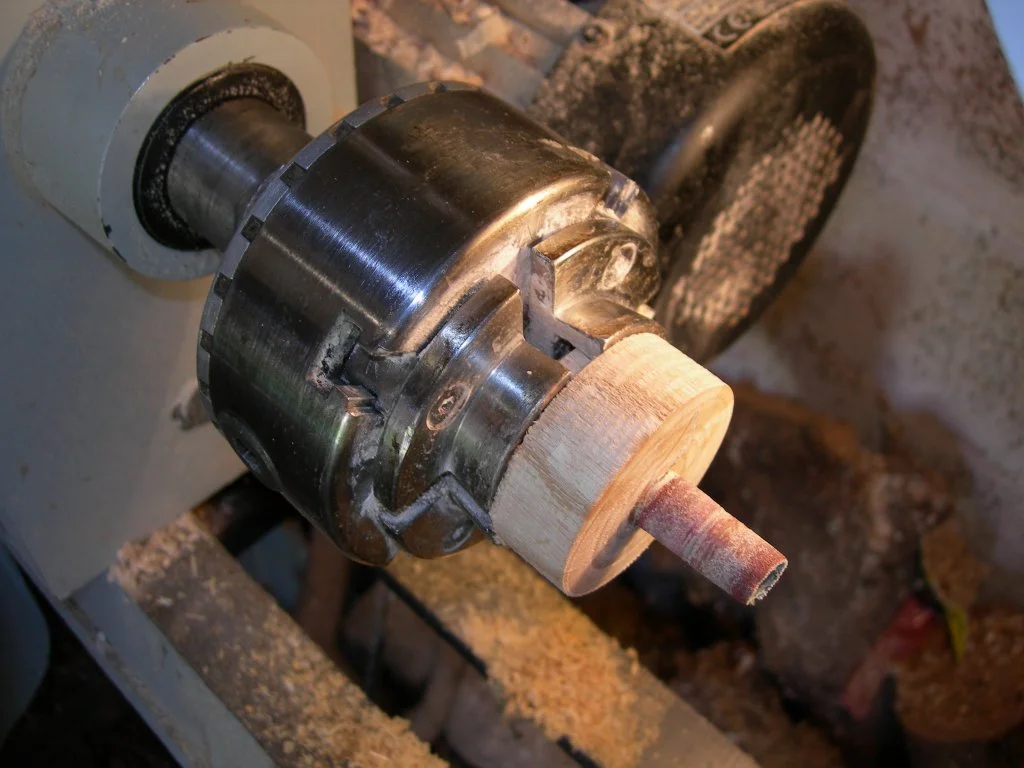
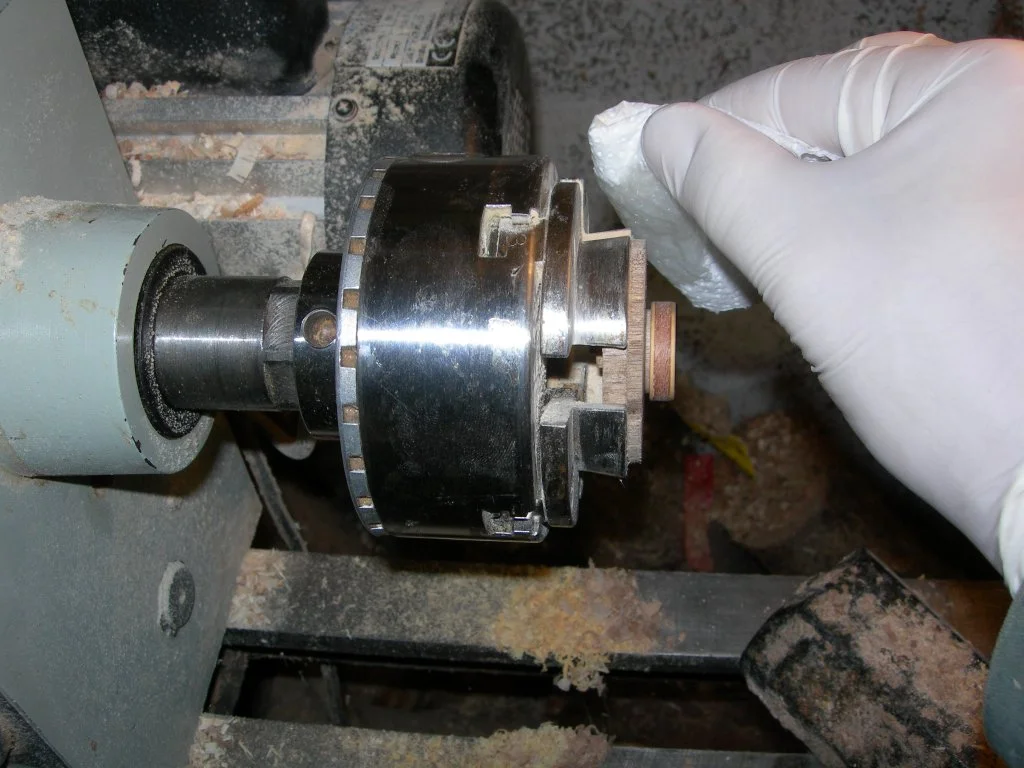
 Making a jam chuck to hold the wood ring on the lathe
Making a chuck on which the ring will be mounted during sanding and finishing.
Sanding the inside of the turned ring
Sanding starts with 180 grit and goes down to 400 grit.
 Applying sanding sealer to the wood turned ring
Applying cellulose sanding sealer with a piece of paper towel.
 Polishing the wood turned ring
Polishing the ring using shavings.
 Waxing the ring
Applying pure Carnauba wax on the spinning lathe.
 Polishing the wax on the wood turned ring
Last step! Polishing with a woolen cloth.
We hoped you liked it! Let us know.
Related
- Best wood for woodturning — choosing species for ring and small projects
- Best woodturning tools — parting tools and skew chisels for detail work
Written by Vince
Vince is a woodturner and the founder of WoodturningOnline. He writes tool reviews, buying guides, and turning tutorials to help woodturners at every level make informed decisions about their craft and equipment.