Project: Captive Rings on a Baby Rattle
In this photo tutorial, Dennis Daudelin will show us how to make captive rings. The final object happens to be a baby rattle.
When making toys for children, there are safety issues that everyone must be very sensitive to! The size of the rattle and any loose pieces must not pose a threat to the child.
The U.S. Federal Guidelines on making toys for children are included on this website. They mostly have to deal with the size of your final turning.
We don't accept any responsibility for your baby rattles turnings and recommend that you become to be familiar with these guidelines.
Wood selection: Hard, durable, tight-grained woods are best. Good choices include hard maple, cherry, and Bradford pear.
Finish: The debate on the toxicity and applicability of different finishes is even more important when making toys for children. We recommend no finish for the highest security.
Now let's get to the turning!

The wood in this project is a hunk of cherry. It is about 3 inches square and 6 inches long. It is dry and has been sitting in the shop for about 1 year.
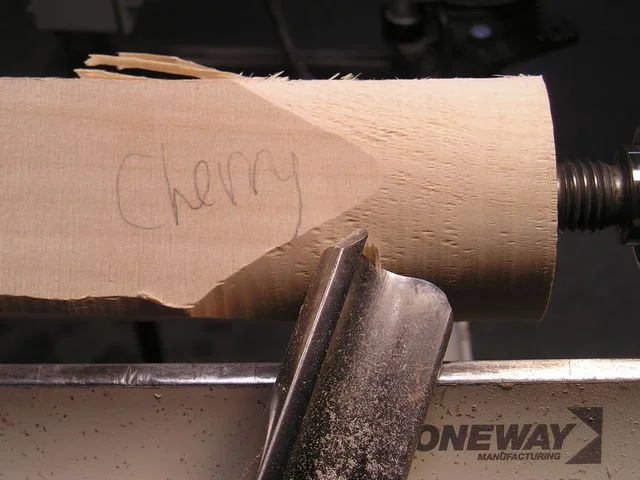
The first step in all spindle work is to make the workpiece round. Here I am using a 1 1/4 inch roughing gouge.
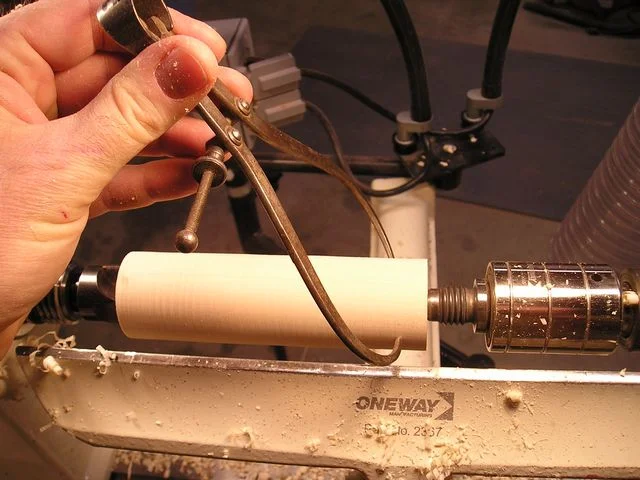
I am using a set of calipers to check for the 1 5/8 inch dimension that I wanted for the rattle.
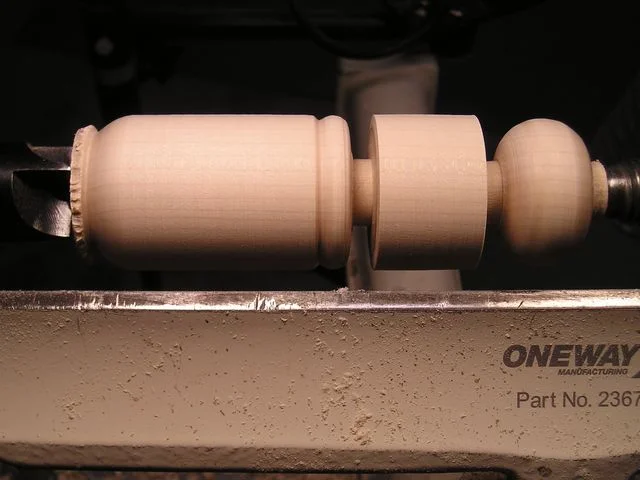
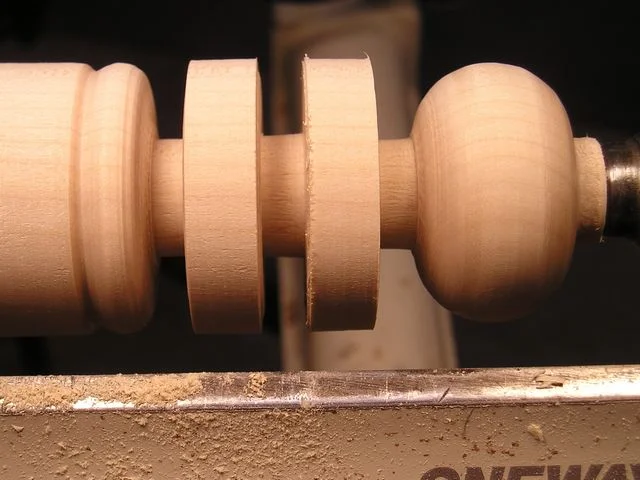
In this picture, I have now rounded off the headstock end of the rattle (left side), created a bead on the tailstock end of the rattle (right side) and then decided how much room to set aside to make the captive rings. I used a spindle gouge for the shaping and a parting tool for cutting each side of the captive ring stock.
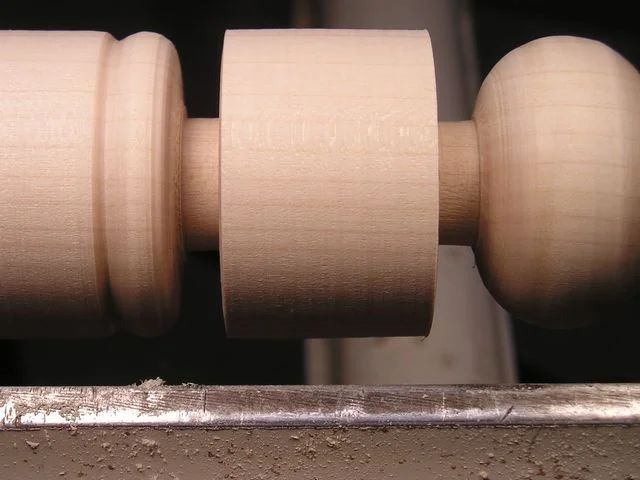
Here is a close-up of the area set aside for the captive rings.
Making captive rings is relatively easy. The first step is to determine the internal stem size and cut out the ring stock. Here I've decided that I have enough stock for 2 captive rings. So, I've cut down to the stem size on each side of the future captive rings. For this step, I used a parting tool.
I have now rounded off the individual captive rings using a spindle gouge.
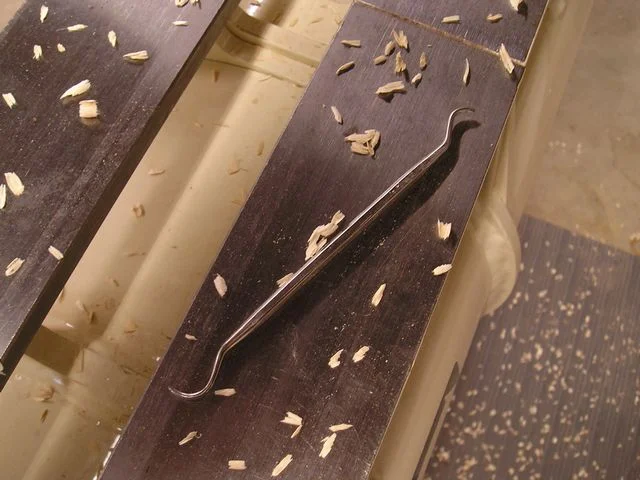
This is a dental pick that I purchased a the local hardware store. I have ground the tips into round-headed scrapers; one for right cuts and one for left cuts.
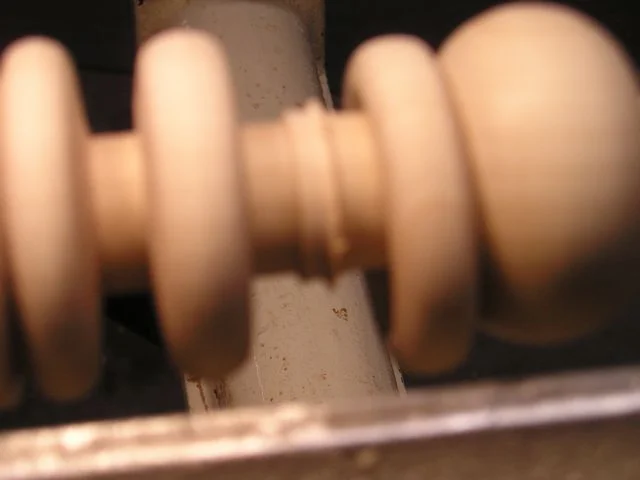
Pardon the poor picture but it shows that I've cut under the ring from both sides and the ring has fallen to the right. The wood remaining under the ring is now exposed.
I have taped the first captive ring to the tailstock hub and have cleaned up the stem of the rattle. I'm not starting to cut under the second ring to release it from the wood.
Now the second ring is cut and the wood underneath the ring is exposed and the final part of the stem is now ready to be cleaned up. Once I cut the stem round, I will sand it.
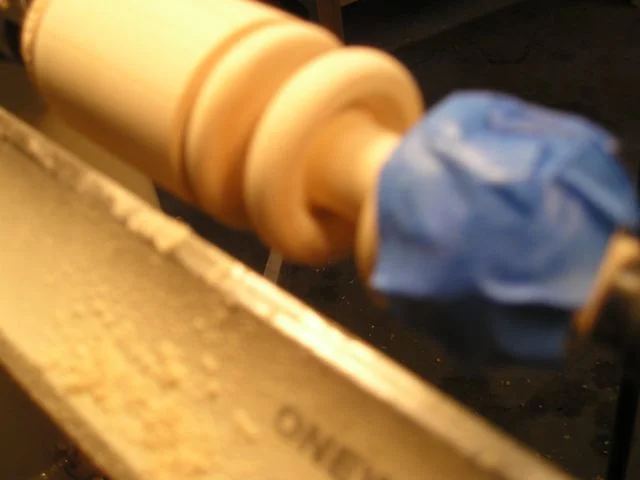
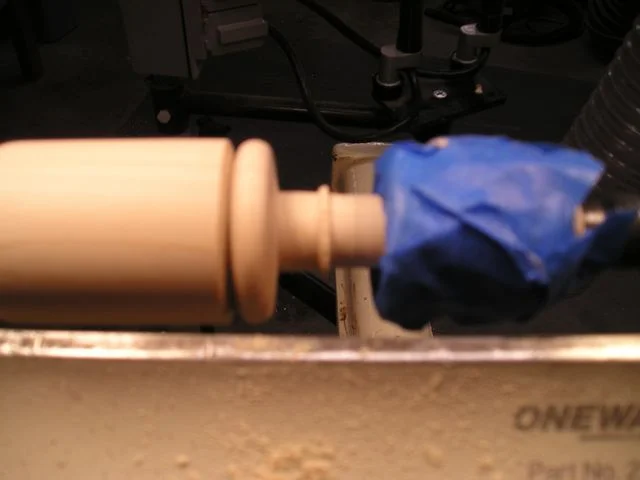
After sanding the stem, I want to sand the bottom (or underneath) of both rings. To do this, I've taken a piece of 100 grit sandpaper and wrapped it around the stem, sandpaper grit out. I've used blue masking tape to hold the tape to the stem The sandpaper is beneath both rings and is ready for the lathe to be turned on. I will hold each ring in my hand as the lathe is running. The lathe drives the sandpaper and I turn the ring and hold it against the sandpaper to clean it up.
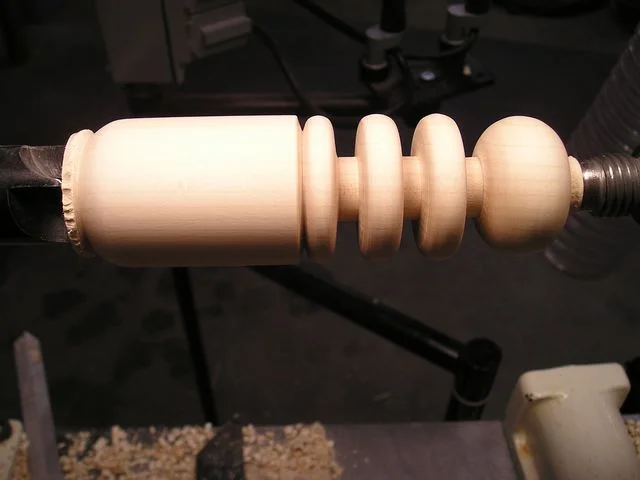
Here is the project after the rings have been sanded underneath.
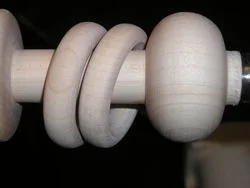
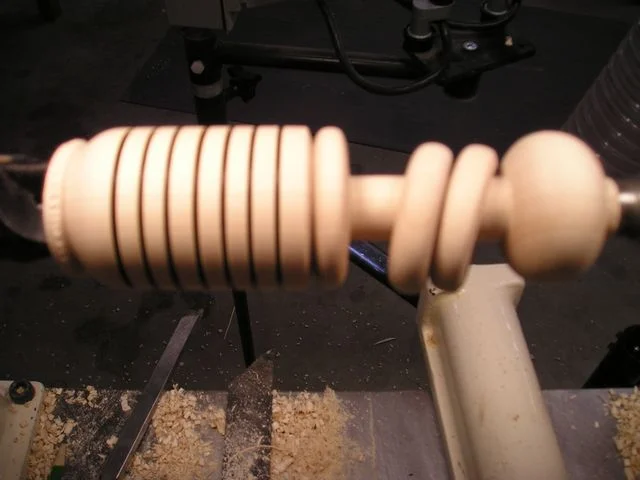
Here is a close-up of the final rings, all sanded.
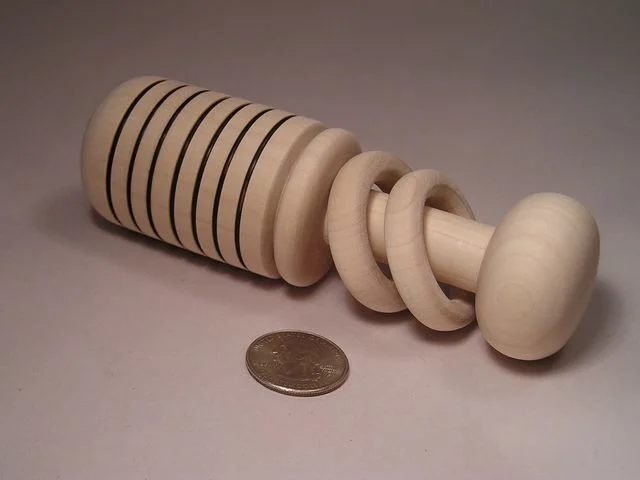
This is the project that we've made in this tutorial in its completed stage.
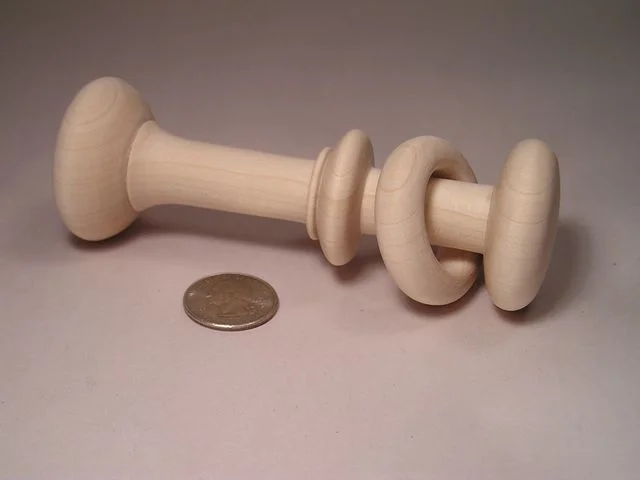
Here's a second example of a baby rattle with a thinner handle and a single captive ring.
Now that you know how they're made, you can see that they are not that hard!!
See also our step-by-step tutorial on turning a toy soldier ornament.
Best of luck in your attempt!!
Dennis
Written by Vince
Vince is a woodturner and the founder of WoodturningOnline. He writes tool reviews, buying guides, and turning tutorials to help woodturners at every level make informed decisions about their craft and equipment.