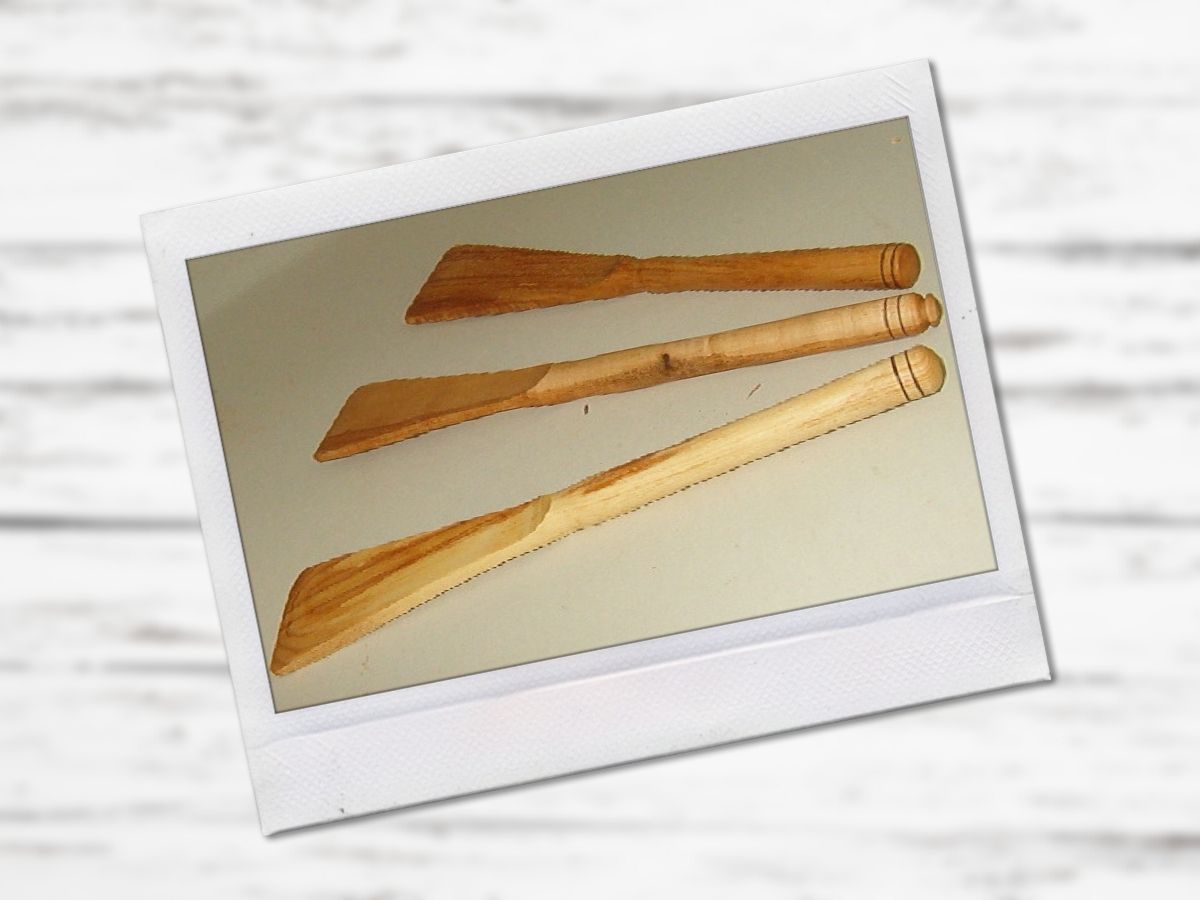
I like to use a spatula in the kitchen. Wooden spoons are great for lifting things, but for general cooking, they are poorly designed. Most spoon handles are simply turned dowels and uncomfortable to grip and use. A well-made and carved spoon handle is a treat, but again the blade or usable portion is next to useless. It touches a minuscule portion of the bottom or sides of a bowl and does not really stir well. In a frying pan, it is a disaster.
Enter the spatula. Made of wood it is safe for all cooking surfaces. With a strong and comfortable handle, it is easy to use and can be utilized for everything from stir-frying to mixing bread dough. I have tried the type that Richard Raffan demonstrates in his project video and book and I do not like it for the kitchen. I think this design is more comfortable. Your opinion may vary.
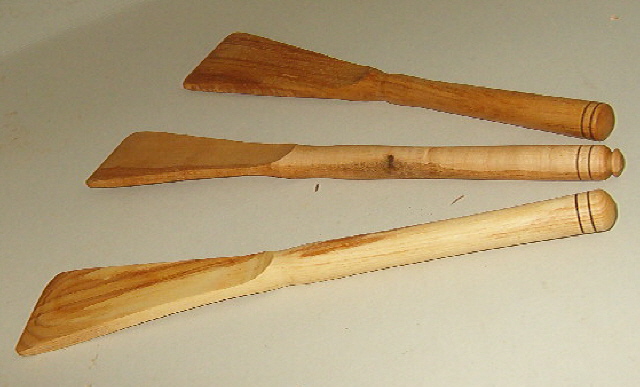
The Procedure
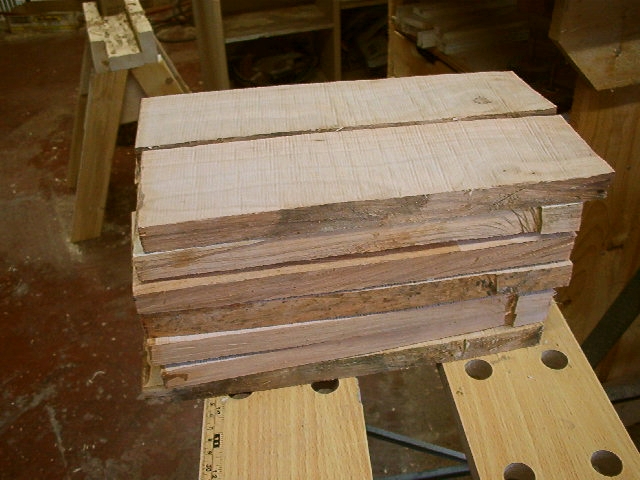
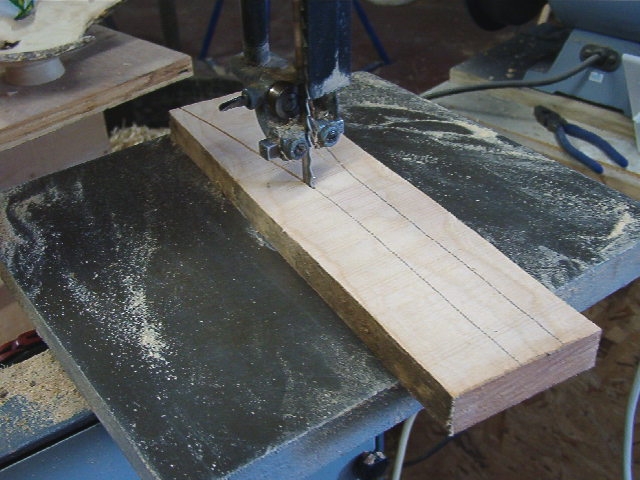
- I start with a log and resaw a series of 3/4″ boards about 11 to 12 inches long and at least 2 1/2″ wide.
- On these, I draw a pattern of the final spatula. Note the pattern lying on the pile. I make patterns or storyboards for any objects of which I turn a fair amount. There is a hole in the pattern hanging on the wall.
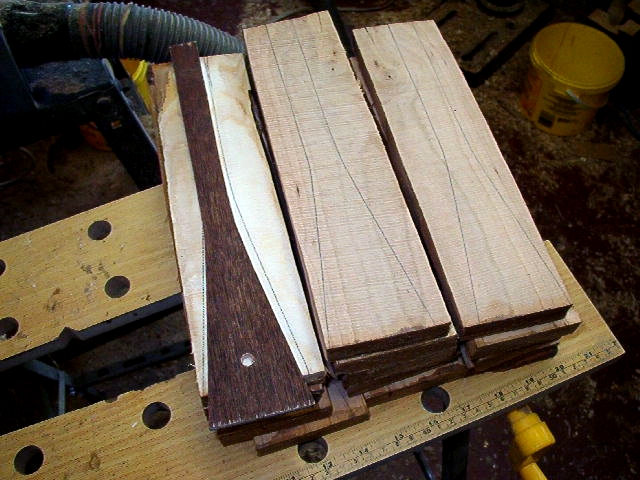
- Then back to the bandsaw and I cut them out. Ensure that the blade is 90 degrees to the table. It establishes a right angle for the next resaw.
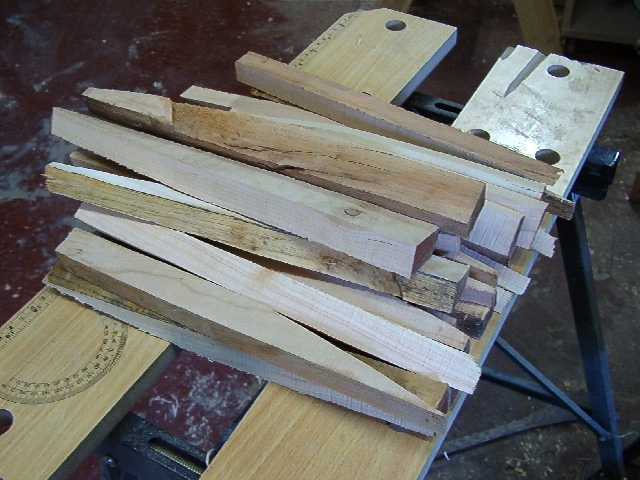
- I am left with a pile of scraps, most of which can be used for small turnings or other projects.
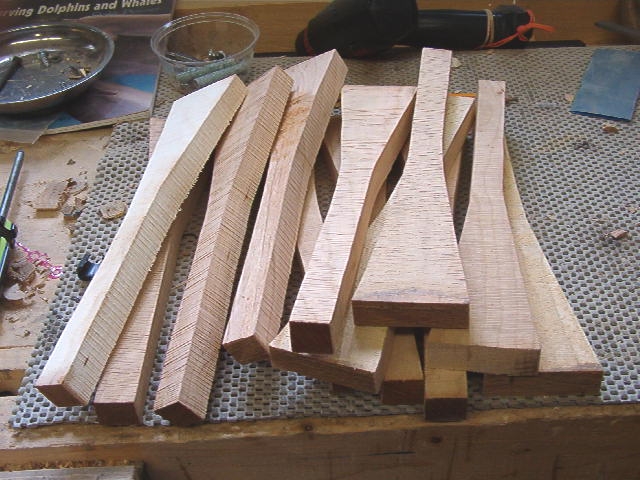
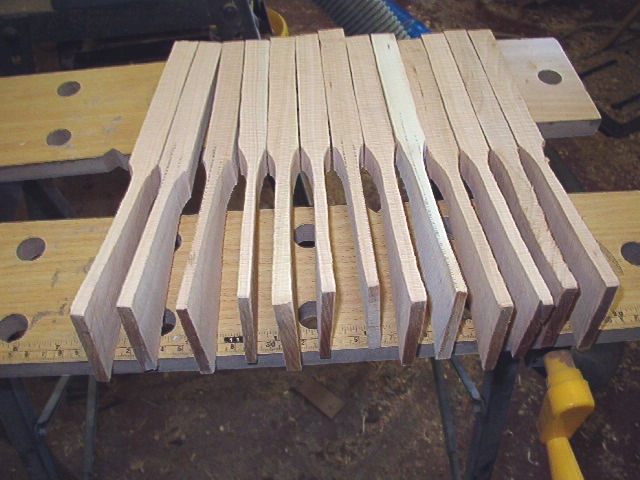
- And a pile of blanks.
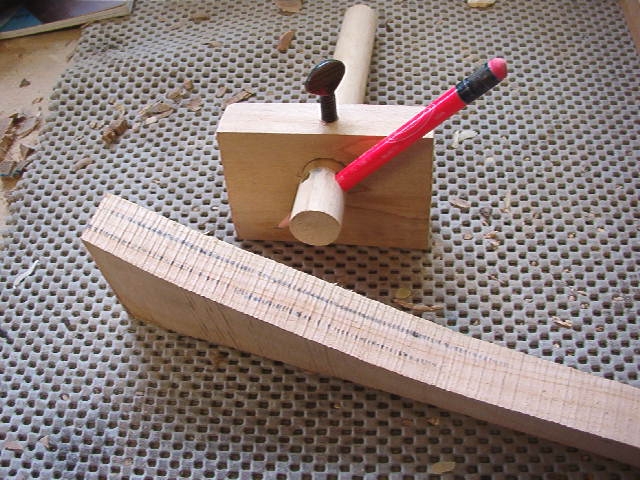
- Using a marking gauge, I leave a line 1/4″ in on each side of the blade.
- At the band saw I cut the waste off of the sides. I think this is a dangerous cut but I have done this so many times I am not sure. Always be aware of where the blade will go if you slip and keep your hand out of there. I have made holding jigs for this in the past and they are a waste of time and effort.
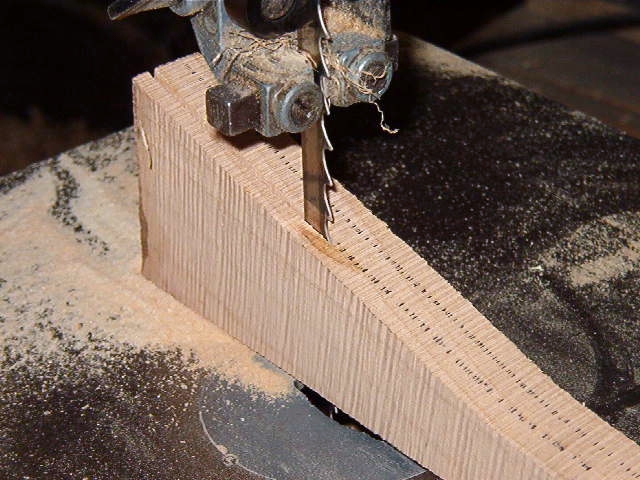
I am left with a few blanks ready for the lathe. I like to mark the center of the handle for the tail center. It is probably not necessary, but it can not hurt.
Now to the lathe. I mount the blank using a One Way four jaw chuck with two of the jaws holding the end of the blade. This is a neat trick. I have turned these between centers and with the chuck holding the handle instead of the blade. This is the best way so far. The tailstock lends support to the handle.
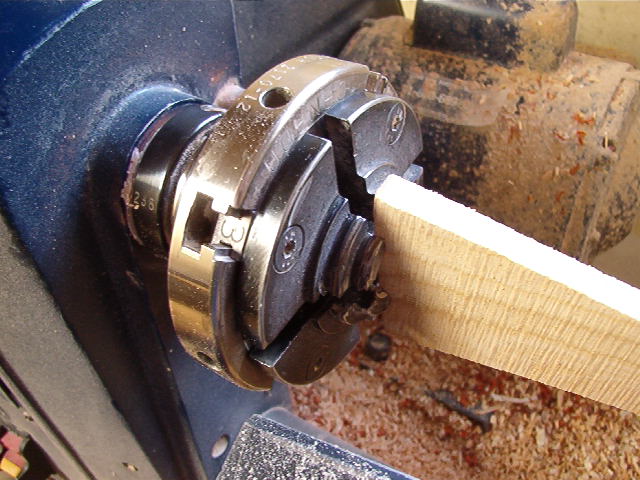
Wood lathe chuck close up 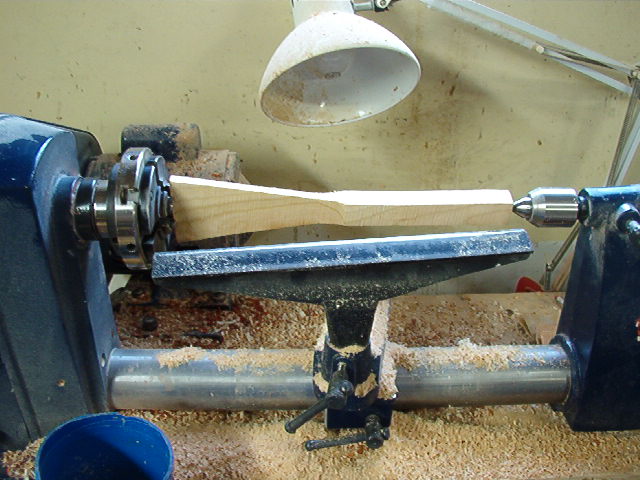
Woodutrning spatula
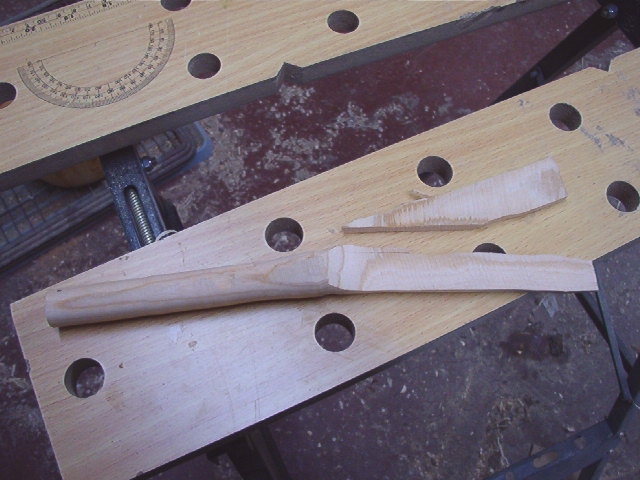
I turn at 3500 rpm. This took a while and a fair amount of practice to build to. You want to skew down the sides of the blade and then shape the handle. Stop the lathe and see if it is comfortable. If not fix it up and if so proceed to sand. For kitchen utensils, I stop at 220 grit. Oh, do not forget a face shield. I am still not sure where the other piece is but a catch at 3500 can be spectacular.
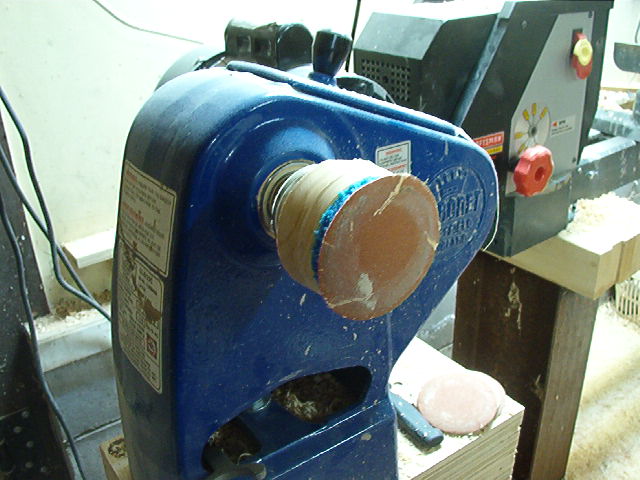
I could turn the bit left at the end away by using a skew while the chuck holds the blade for turning, but I find it faster and easier to band saw off the nub and then sand it with a sanding pad on the bowl lathe.
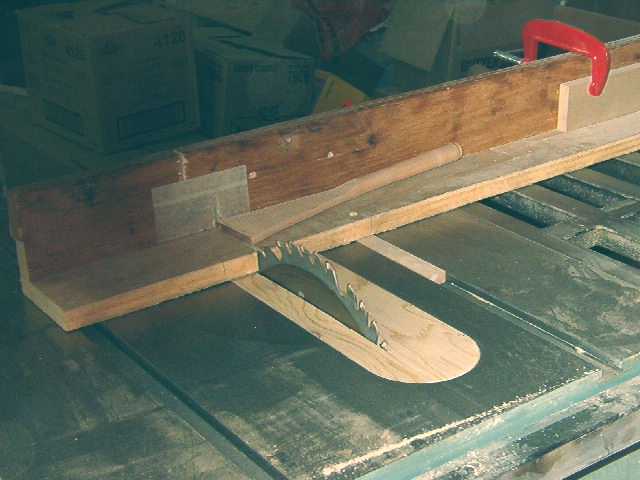
Next to the table saw where I cut the end of the blade to an angle. I am not sure of the angle, it just works, and anyway I am sure it varies a bit from tool to tool.
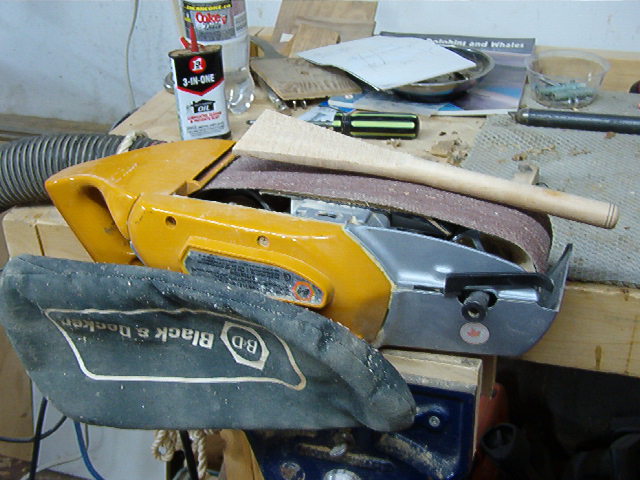
Now to the belt sander. I do not own one so I flip my portable upside down in the bench vise. Using a progression of 36, 50, 80, and 120 grits I sand the blade with a taper to the edge. When I reach 220 I round the corners of the blade so they reach those little rounds at the edge of pot bottoms.
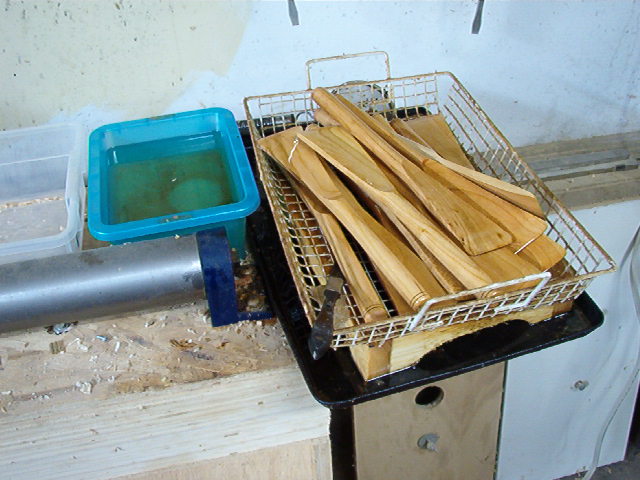
I dip and paint the spatulas in a mixture of 50/50 vegetable and mineral oils and set them to drip dry. My hands stay soft from the work. The extra oil gets collected and reused. I am told that the vegetable oil may go rancid over time, but I have never seen any evidence that this may be so.
This project has been brought to us by Darrell Feltmate from Around the Woods.
