How to Use a Table Saw
There are many types of table saws, but it is essential to consider certain factors before rushing to use or purchase them. Some of these factors include the type of saw and saw blade, the size (rip capacity and crosscut capacity), the quality of the rip fence, and safety.
The Basics of a Table Saw
The three main types of table saws are Jobsite table saws, contractor table saws, and cabinet table saws.
- A jobsite table saw is portable, compact, and great for woodworking beginners.
- On the other hand, a contractor's table saw is also portable but solid and challenging to move about without help, and this type is more suited for professionals.
- Finally, a cabinet saw usually comes built into a large metal table for larger woodwork projects; it is not portable and is another type mainly suited for professionals.
Table saw prices range from $200 to up to $4,000 plus. The price of the table saw will be determined by the blade of the saw chosen.
Using Table Saws With Different Blade Types
There are four main blade types. Remember, not all table saws use a dado blade.
Using a Table Saw With Ripping Blades
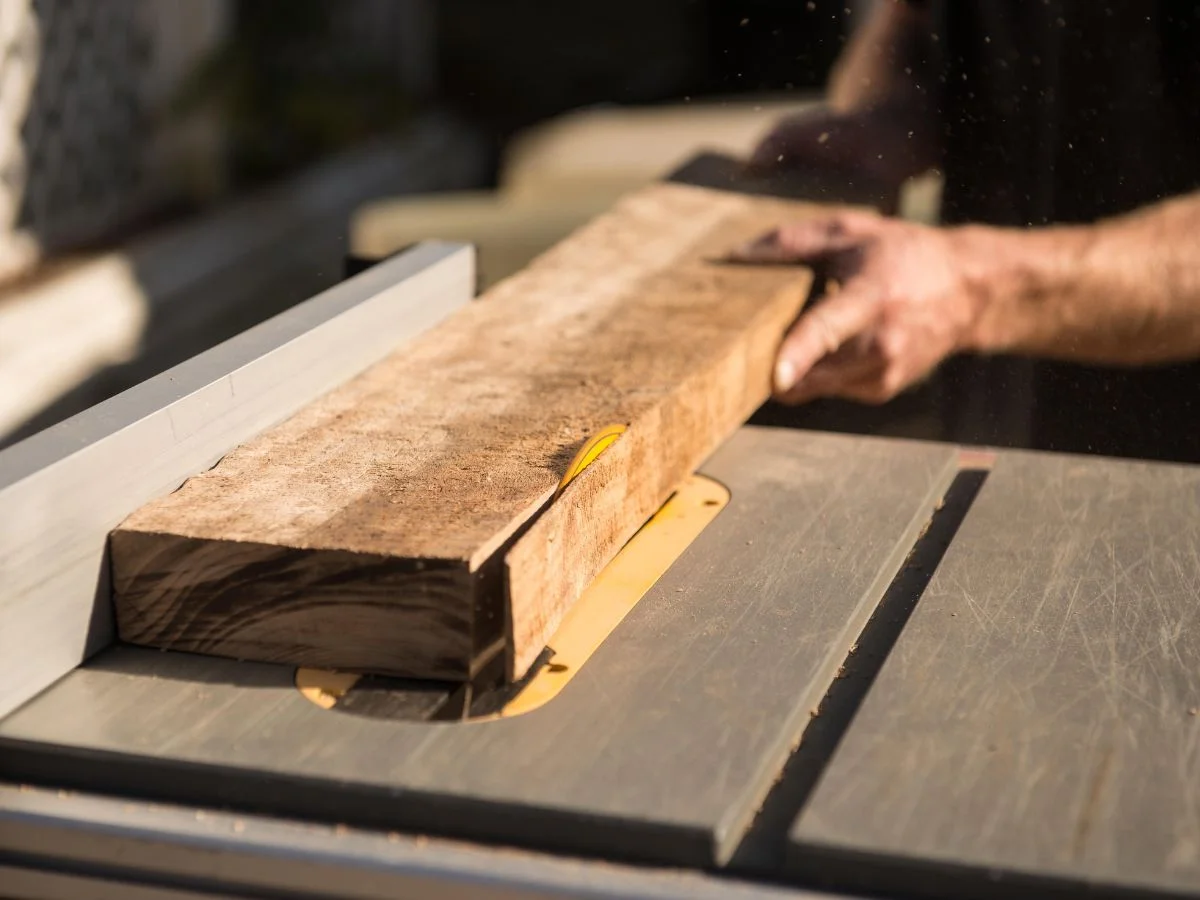
Rip-cut blades are blades that cut through a plank of wood along the grain, allowing for less resistance when the saw is cutting across the grain of the wood material.
Rip-cut is one of the most straightforward cuts because most table saws come with a rip fence that calibrates to the width of the measured cut and is a guide to controlling the piece of wood being sawed.
Here are the steps to rip-cutting:
- Unplug the saw and get the rip blade you intend to use for the job.
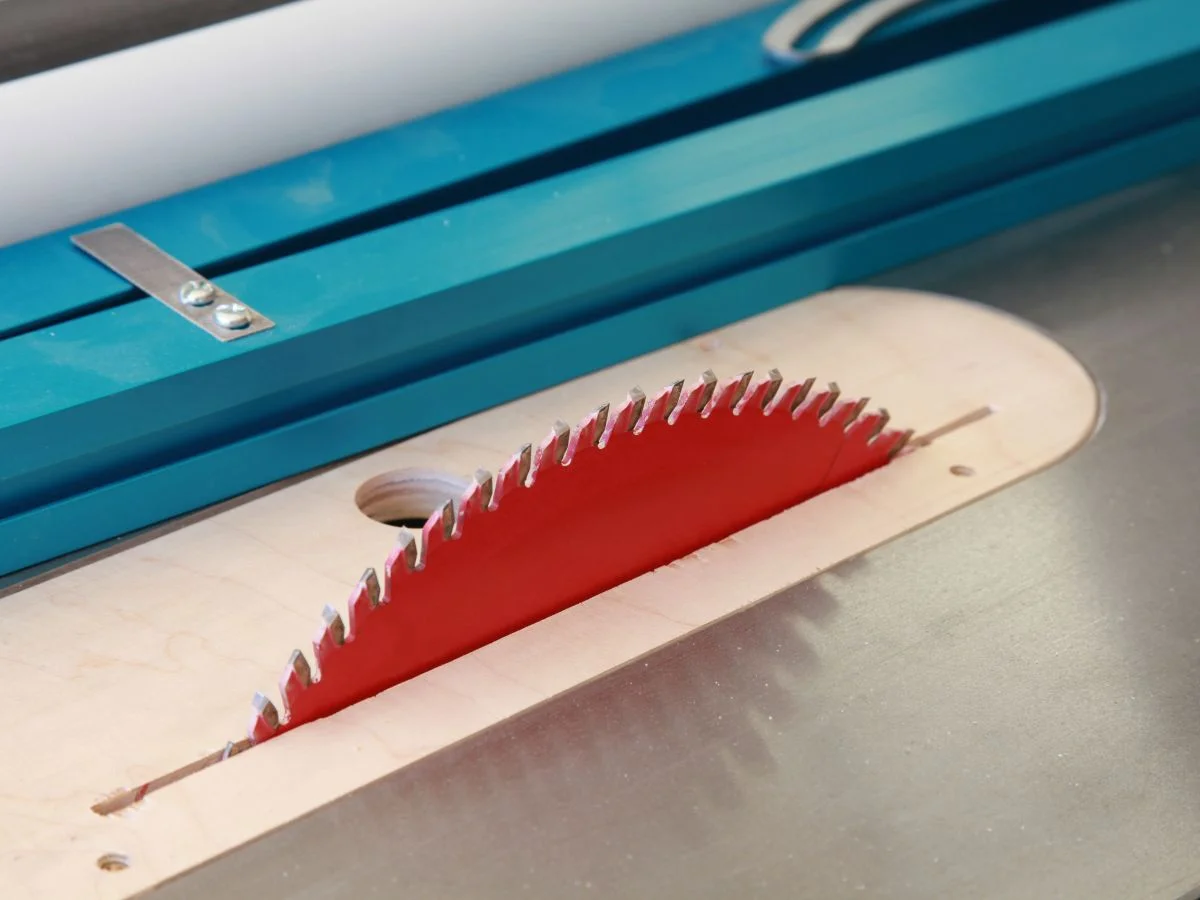
- Insert the blade into the blade arbor found at the top of the table. The height of the blade should be at least 1/4" above the thickness of the material you're about to cut. For example, if the material you are ripping is 1/4" plywood, set the blade height at 1/2" above the tabletop. You can use an arbor nut wrench to change the table saw blade's height. The teeth of the rip blade should face the front of the table saw as the saw blade spins towards you from the top downward. The sharp blades, therefore, must be to the front of the table saw rather than from the back.
- Once in place, tighten the arbor nut snugly.
- A table saw comes with a front ruler to help position the fence. The rip fence is set by releasing the locking lever on the front of the fence, which locks the rip fence into place to ensure an accurate cut. It is always wise to keep a precision tape measure to ensure that the distance from the fence to the closest blade tooth edge is correct; to avoid reducing the width of the material because of the kerf - which is the width of the cut made by the saw blade tooth itself.
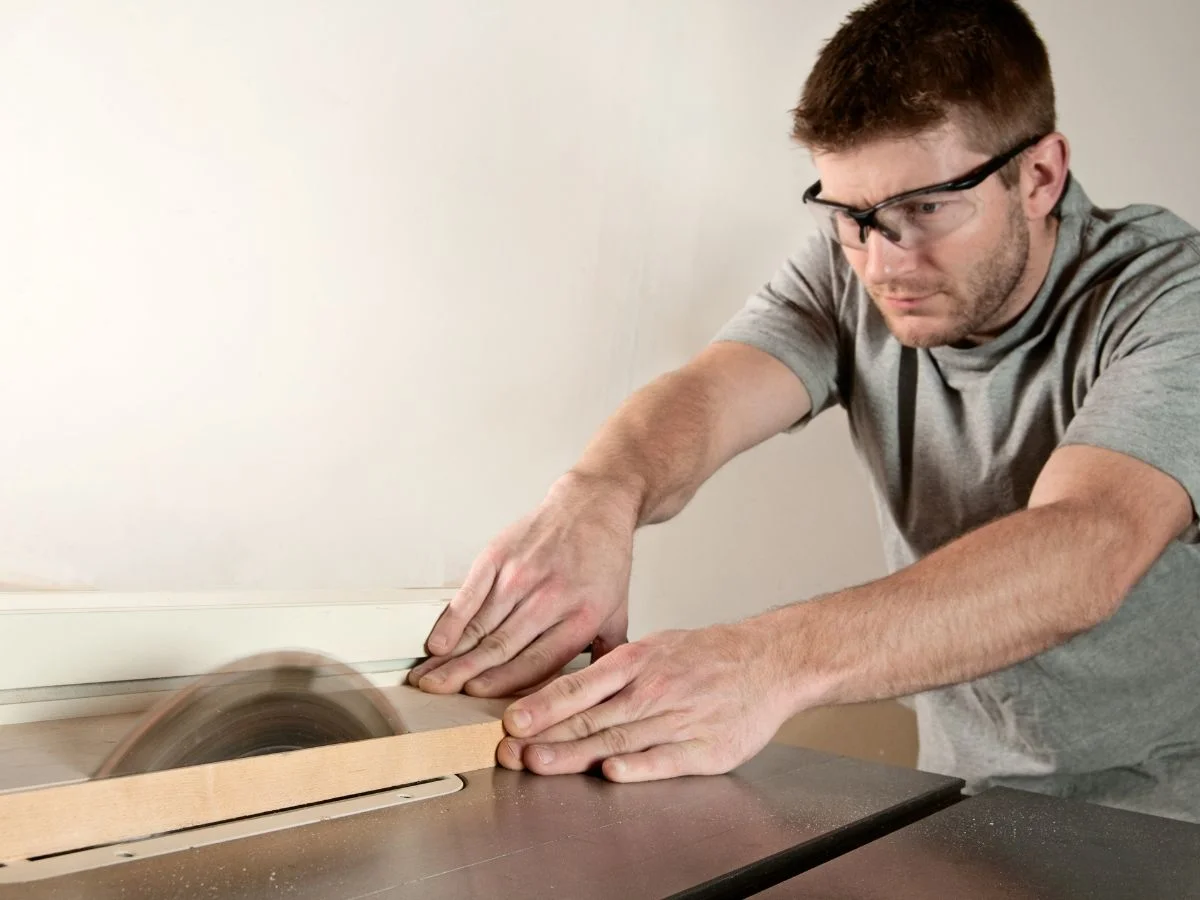
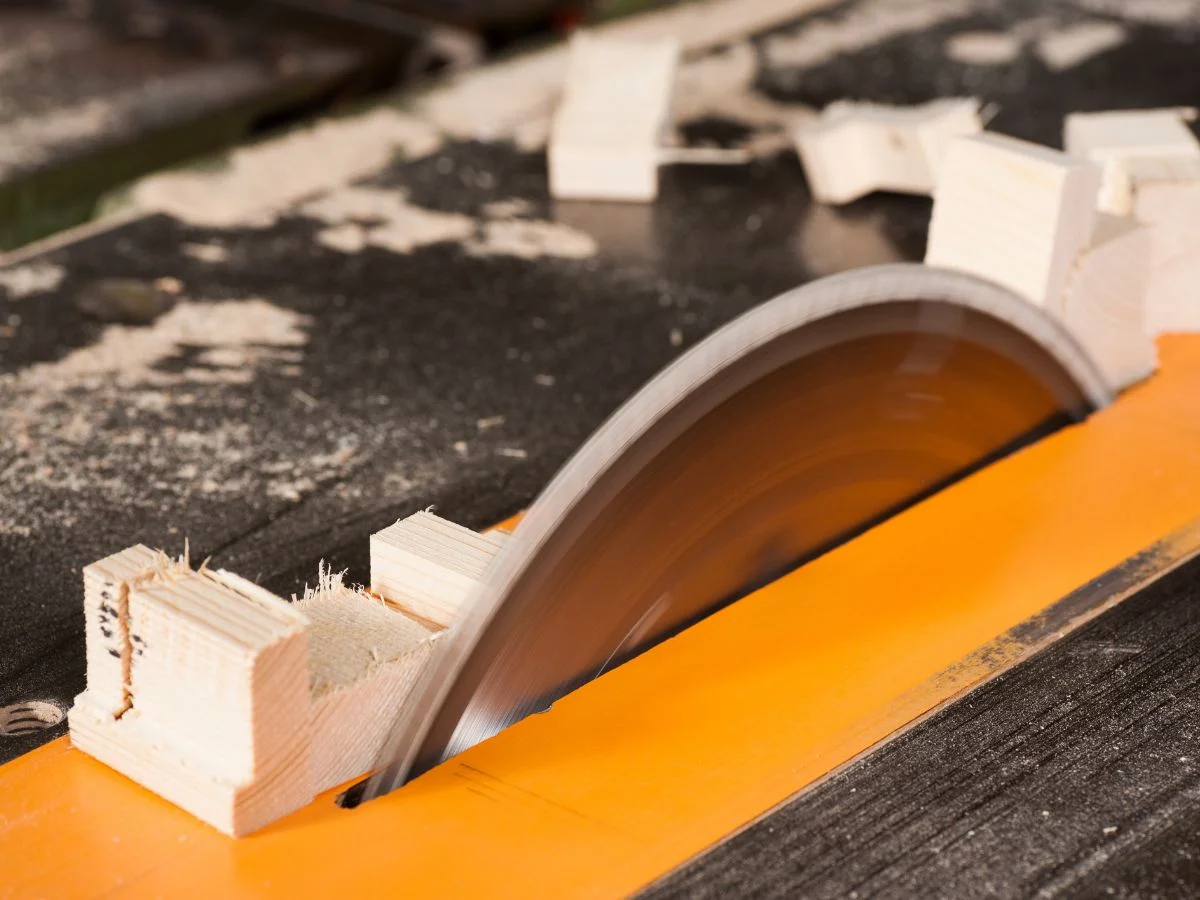
- Once you have completed the previous steps, the next step would be to place the material you need to cut on the table and align it with the rip fence. Please only allow the cutting material to touch the saw blade once it is turned on and at full speed. A kickback can occur if the wood material makes contact with the blade before it reaches cutting speed and can cause severe damage, especially to the user.
- Glide the material slowly but firmly along the rip fence using both hands. Keep the material completely flat along the table saw top and always align it with the rip fence. Use a push stick as cutting nears completion. If the material being cut is longer than the table saw top, it would be best to get a table extension to support it or keep someone on hand to help keep the material completely flat and avoid kickbacks. For long boards an outfeed table would be an ideal table extension to keep the material completely flat and prevent kickback.
- Do not use a rip blade to cut a block of bowed or curved wood.- ### Using a Table Saw With Cross-cut Blades
Cross-cut blades can cut all types of wood material, and it is one of the most popular blades used for cutting across the grain. It also leaves fewer waste materials and gives a smoother cut than the rip-cut blades.
When cross-cutting, you should not use the techniques for rip-cut blades because of kickbacks. It's wise to use a miter gauge instead for cross-cutting.
A miter gauge is a long thin metal guide inserted into the miter slot in the table saw. There is a half-moon-shaped head that pivots on its connection point attached to the guide. The pivoting section has a locking mechanism that allows it to lock from -45 degrees to +45 degrees, creating compound angles and allowing precise cuts. Another name for this is the protractor guide. If funds are limited investing in an after-market miter gauge is also a good option.

Some crucial steps to follow when using the miter gauge:
- A cross-cut blade must be inserted into the table saw arbor. The instructions in step 1 on how to rip-cut should be the same method used to change the blade.
- The pivoting section or protractor guide should be adjusted to either straight or angled cross-cutting. This guide gives you the desired angle every time.
- Clamps can secure and align the material along the front of the miter gauge to keep it in place.
- Turn on the saw, but only let the wood material touch the blade once it is spinning at full speed.
- Slide the miter gauge and wood material being cut forward slowly but carefully through the moving blade.
- I recommend unplugging the table saw before the cut material is retrieved near the blade.
Using a Table Saw With Combination Blades
This blade can rip-cut and cross-cut, and they are also more popular because they can do both. A combination blade can also be used to cut bevel edges to make corners or joints and works well for basic cuts.
The steps to replace the blade in the rip-cut step 1 directions also apply to the combination blade.
All steps/instructions for cross-cut blades outlined above apply to combination blades.
Using a Table Saw With Composite Blades
Composite blades are ideal for cutting materials besides wood, it is a versatile tool that can cut metal or plastic.
The steps to replace the blade in the rip-cut step 1 directions above apply to the composite blade.
All steps/instructions for cross-cut blades outlined above apply to composite blades.
Important Note: Quality of Rip Fence
It is almost impossible to cut on a table saw without a rip fence because it helps to align and guide the wood material to get an accurate cut. Therefore, a rip fence quality is essential.
When choosing a table saw's rip fence, here are some tips to ensure you select a good quality:
- Manual or electric - the manual is cheap and great for small projects, but if it is used for repetitive cutting tasks, an electric rip fence will be a better investment and less headache.
- Rip capacity - the top used rip capacity ranges from 18 to 36 inches. Thus, when working on large projects, the rip capacity of the fence must correspond with the size of the workpiece.
- Universal rip fence - get a quality, versatile rip fence that can fit any brand table saw. It's helpful if a saw gets damaged and you cannot find the exact make, and you have to replace the table saw.
- Choose a reputable brand - a table saw can be expensive, so a brand that offers a quality and durable rip fence should be an investment worth making.
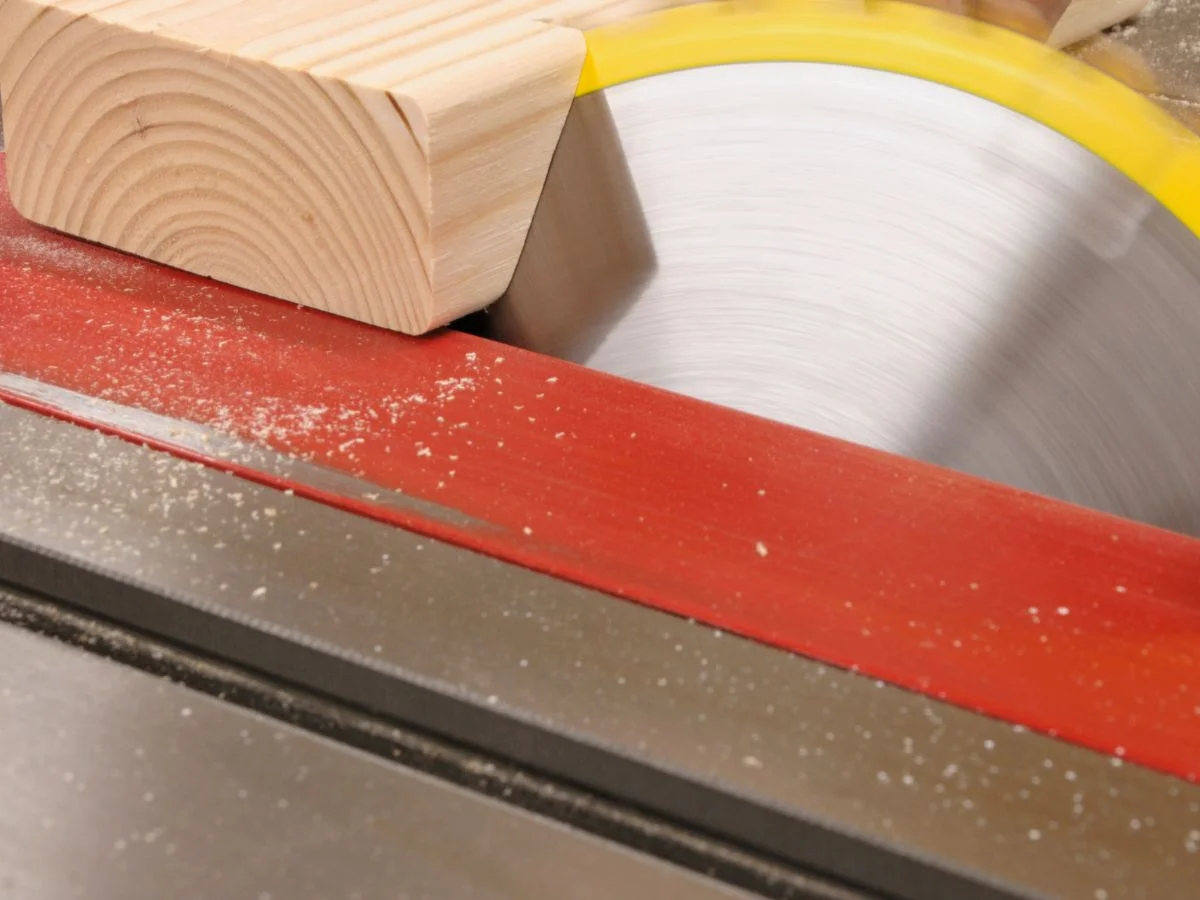
Table Saw Safety Tips
Most saws are safest for ripping cuts but can still be dangerous for beginners. Some safety tips to always keep in mind when using a table saw:
- Always keep the table saw unplugged unless you have already positioned the wood material on the saw to be cut.
- Wear safety glasses and earplugs when the saw is in use to avoid debris getting in your eyes, and the table saws are usually very loud. Some people may ignore the earplugs but always wear safety glasses when working with dangerous tools, like table saws.
- Use an expendable push stick made of wood about 1-1/2 x 1-1/2 inch thick, (or the desired width that suits you), to push the sawed piece through to the completion stage. The saw can cut your hand if you are not swift in pulling back when pushing the wood material. A new push stick can be made or purchased, but it is different with your hand.
- The blade guard or blade cover should be kept in place unless the job requires that it is removed. Remember that a blade guard is there for your protection, so do not leave the blade exposed.
- Kickbacks are potentially dangerous and are responsible for many injuries during rip-cutting. Please read the table saw manual before handling it. Always use a riving knife or a splitter which can help to prevent kickback.
- Do not touch the spinning blade, and no kids should be allowed near the saw's spinning blade.
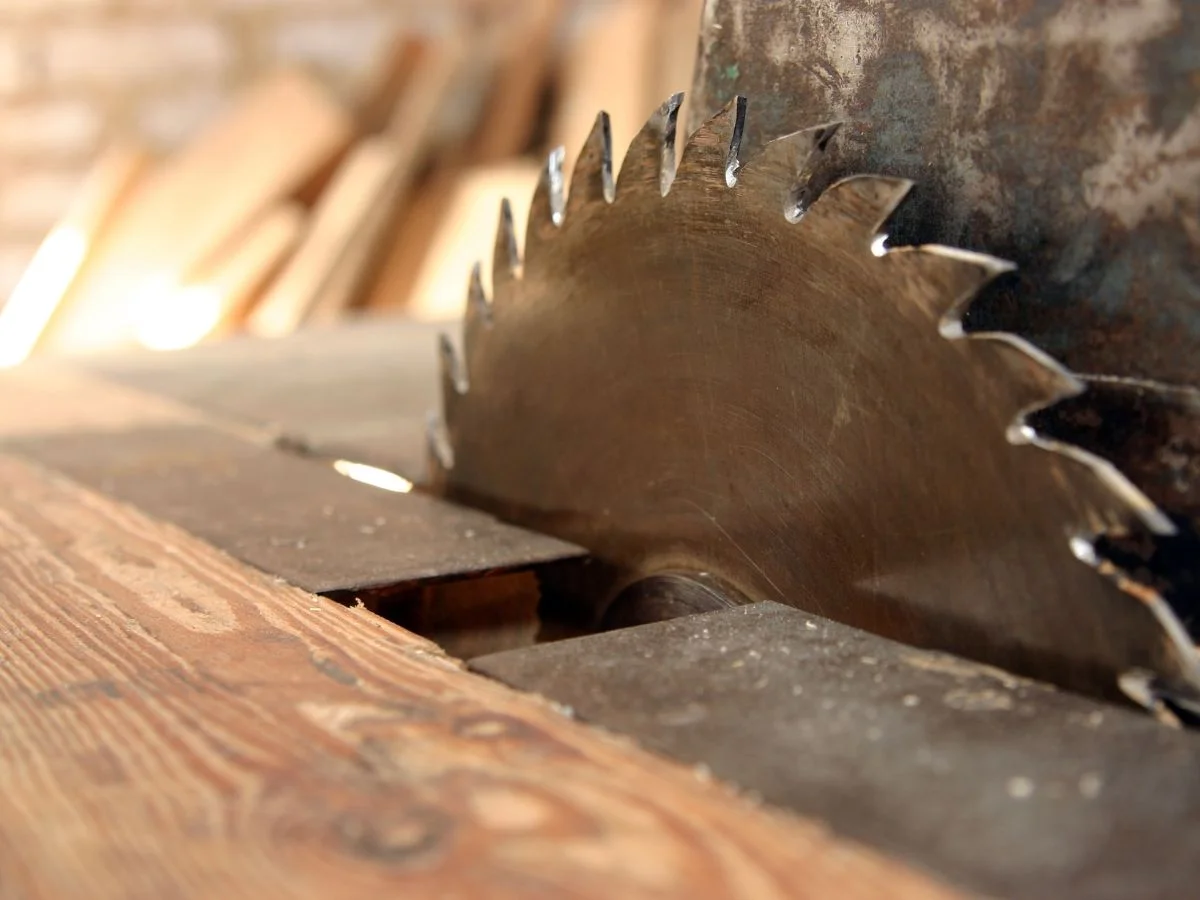
- Regularly check and maintain your blade to make sure it's straight and sharp for cutting wood.
See also:** woodworking safety equipment shopping list**.
Conclusion
A table saw is an excellent tool to keep; the final product will be good once instructions are carefully followed. Whether cutting thin strips, inner edge, front edge, cross cuts, or rip cuts, it is essential to have at least the first three types of saw blades in stock to rotate according to the project. Our article on how to use a table saw will help you manage your projects with ease.
See also: safety equipment for woodturning
Written by Vince
Vince is a woodturner and the founder of WoodturningOnline. He writes tool reviews, buying guides, and turning tutorials to help woodturners at every level make informed decisions about their craft and equipment.