In this article, we look over the most fundamental tools that are used in woodturning. Read on to find out what you need, and what you don’t.
Overview Table
Tools can range anywhere from $30 for a 6-piece entry-level set to as much as several hundred dollars for a single high-quality tool. Your tastes and pocketbook should be the determining factors in your choice but once again, high-dollar tools are NOT going to make you a better turner.
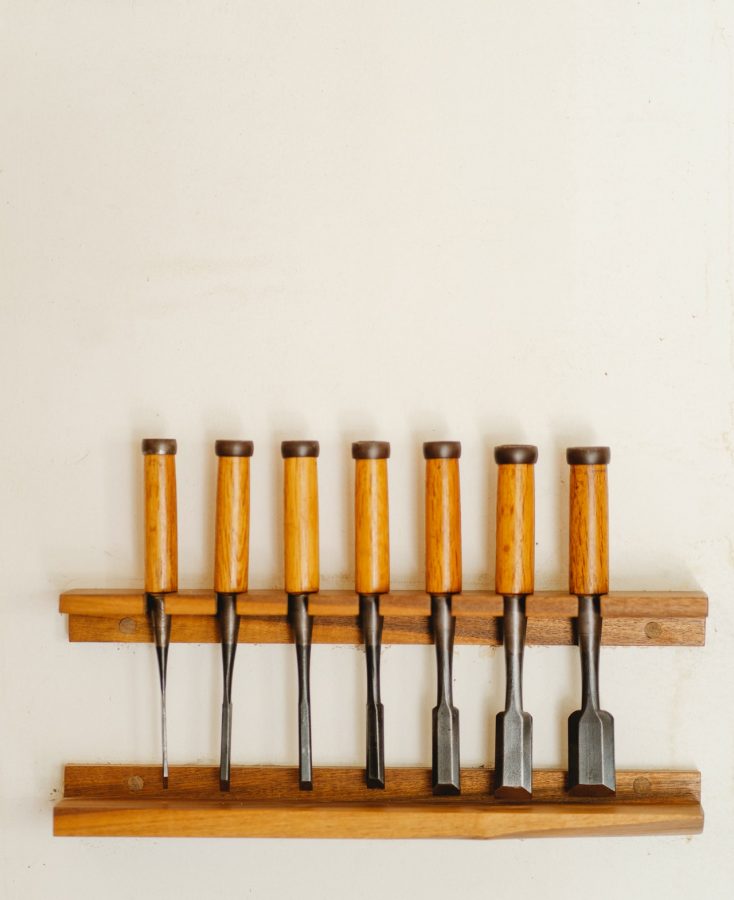
Starter Set
Opinions vary widely on which tools make the best “starter set” for a new turner but the following usually receive a consensus:
Spindle Turning Tools
- 3/8″ or 1/2″ spindle gouge
- 3/4″ skew (or larger)
- 3/4″ spindle roughing gouge
- 1/8″ or 3/16″ parting tool
Bowl Turning Tools
- 3/8″ or 1/2″ bowl gouge
- 1/2″ round-nose scraper
You will also want to put some thought into whether you should purchase individual tools or buy them as a set. There are pros and cons to both approaches. Buying individual tools allows you more flexibility in choosing the size, brand, quality, etc. for each tool you purchase. The most common criticism of buying a set is that you may end up purchasing tools you don’t need or use. We tend to agree with this but there is merit in buying a basic budget set to start out with.
More About Different Types of Tools
The following are some of the basic tools one should be acquainted with for woodturning:
Parting Tool
- 10-1/2'' long.
- Blade extends 4-1/2'' from handle.
- 6'' riveted Ash handle.
As the name suggests, this is the tool that is used to part the wood. This tool can also be used to size the diameter of a wood stock and can even be used for scraping. Whether your wood stock is round or square, the parting tool can be used on wood of all shapes.
However, if you are parting the wood between the centers (the midpoint between the tailstock and headstock), you do not want to part the wood all the way as the pieces of timber will simply go flying. Instead, part the wood almost all the way and then turn the wood lathe off to finish the job with a good old saw.
You can also use this tool to cut a spigot into the timber that the lathe chuck can hold onto for easier use.
Spindle Roughing Gouge
- Flute Width: 1" | Thickness: 1/5"
- Tool Length: 6" | Handle Length: 12" | Overall Length: 18"
- Made from High Speed Steel with solid beech handle
- Used on spindles only and most often to turn down square stock into cylinders
- Available separately or in sets
If you are working with square stock, this is the tool you will use to make it round. Alternatively, if the stock is already round but you want to chip it away slightly to get a smaller diameter, this is the tool to use again. It is a wide tool and usually has a straight grind.
This is typically the first tool one might use when one begins a project. As the name suggests, this is a roughing tool which means that it is used to get a rough shape but will not give you a proper finish.
You will certainly need to use sandpaper over the wood stock once you are done using the spindle roughing gouge. The tool is best to give the wood stock a basic structure, then you can use other tools to refine the details.
Bowl Gouge
- With it's deep flute, primary use is for turning bowls
- Also used for dishes and other hollow forms mounted on a lathe's faceplate
- Blade is made from M2 High Speed Steel
- Total tool length is 22" with a 9" blade and 13" handle
- Hardwood handle with brass ferrule
If the spindle gouge has a shallow flute, the bowl gouge has a deep flute. As the name suggests, the gouge is useful for shaping bowls, whether on the concave side or the convex form. By simply changing the ground angle, you can create bowls of various shapes and sizes.
If you have slightly more experienced, you can even use the bowl gouge for some kinds of spindle work. This is not the most conventional use for a bowl gouge, but with the right practice, you can make this happen.
Spindle Gouge
- With it's shallow flute, ideal use is for finishing spindles, pens, and other small woodturning workpieces
- Can also be used for facing cuts, shallow hollowing, and beading
- Blade is made from M2 High Speed Steel
- Total tool length is 16-1/4" with a 6-1/2" blade and 9-3/4" handle
- Hardwood handle with brass ferrule
The spindle gouge will be the tool you use for adding intricate details to your wood stock. It has a shallow flute and the part of the tool that comes in contact with the wood is a fingernail profile point which introduces the details into the wood stock.
This is the best tool for when you want to give the wood stock curved shapes, make coves, beads or add other elements of design to the wood stock.
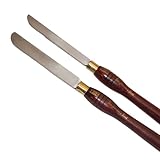
Skew Chisel
- Made by a small tool manufacturer in the Czech Republic
- Blades are made from fine-grained, nicely tempered chrome-manganese steel and hardened to Rc 59
- Contains both right and left skew chisel 6 mm 1/4" wide
- Bevel ground at 30 degree skew and a 25 degree bevel
- Handles mades from super hard European Hornbeam
A skew chisel is a tool that is great for finishing. This tool is useful for planing the wood and is so effective that you practically do not require sandpaper once you are done with the tool. You can also use this tool to create various design elements and fine details, such as vee cuts, which is a crucial step before one beads the wood.
But while the description of this tool paints a rosy picture, it is known to be notoriously difficult for first-time users to manage. Having said that, it is not impossible to get it right.
Once you get a hang of how the tool works, it can be one of the most useful and efficient tools in your woodturning kit. It requires a lot of focus and attention but when used with the right technique, this is a truly remarkable tool.
Extra Tools
These are less common but still useful.
Swept Back Grind Bowl Gouge
The swept-back grind bowl gouge is not too different from a regular bowl gouge. However, the fundamental difference is that it has a different grind. While a regular bowl gouge has a straight grind, the swept-back bowl gouge has a U shape.
The wings of this U-curve act as the cutting edge in this case. This is a very versatile and useful tool that allows you to make different types of cuts for your bowl. The U shape of the grind also allows you to go deep into the bottom of a bowl and ensure a smooth cut.
Scraper
- Create a clean, smooth finish with these heavy-duty round end inboard scrapers; Thick, stable blades all you to cut aggressively without vibration
- Blades are made from M2 High Speed Steel
- Larger Scraper: 19" overall length with 6" blade and 13" handle; Blade is 1" wide and 3/8" thick
- Smaller Scraper: 16" overall length with 6" blade and 10" handle; Blade is 3/4" wide and 5/16" thick
- Designed for blending the parallel side wall and the curved bottom of vessels and boxes together; Ideal for deep hollowing and making final cuts inside bowls; Also excellent for undercutting the rim...
A scraper is another incredible finishing tool that scrapes rather than cuts, leaving the surface of the timber smooth and without cutter marks. The scraper has a burr at its tip, which is the end that comes in contact with the wood stock.
Scrapers are most effective for making the surface of a bowl smooth. There are two common types of scrapers you can use to give your bowl the best finish—the round nose scraper is used to remove marks on the concave side of the bowl (i.e the inside), while the square nose scraper can be used on the outside of a bowl. The latter can also be used to smoothen out the surface of a box and other plane surfaces.
Keeping Your Tools Sharp
Consider your level of sharpening skills before putting money into high-quality, high-dollar tools. Unless you are already proficient at sharpening it makes more sense to start with a basic low-grade set until you have developed some rudimentary sharpening skills. Trust me, tools are like rabbits – you’ll accumulate more (and better quality) tools as time goes along. Learning to sharpen on a $100 gouge can be an expensive lesson.
Here’s a more detailed post on sharpening.
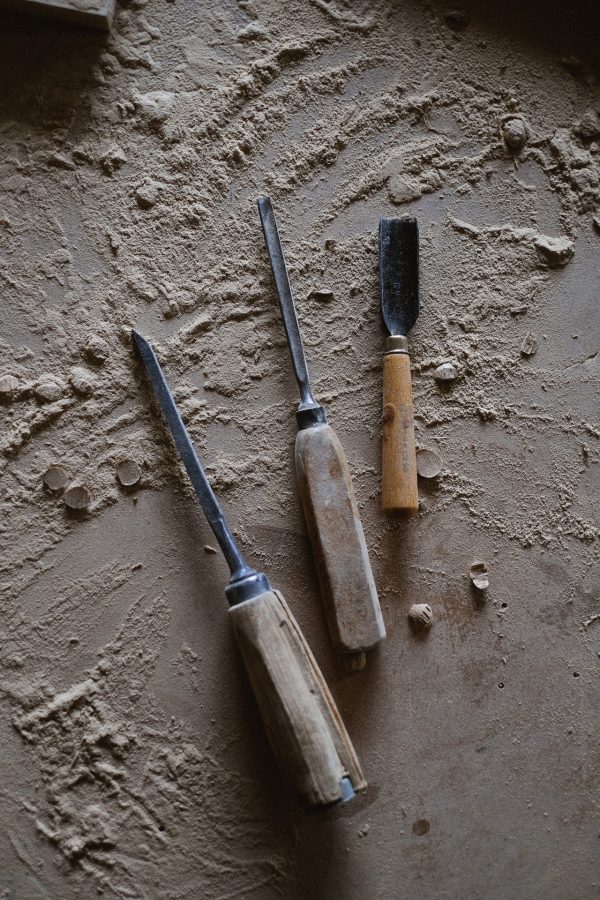
Alternatively, you can also find second-hand tools of good quality that only need a good sharpening. These high-quality used tools may even be more resilient as they will not be brittle, given that they are seasoned.
Using the Tools
Finally, now that you know what woodturning tools are required in your kit, the next concern is using these tools properly. Woodturning and using a wood lathe is certainly not the easiest activity.
You need a lot of practice, focus, and good technique to be able to use the lathe and the woodturning tools well. Besides, safety is always a concern, no matter how experienced you are. The following are some things you should keep in mind about using the woodturning tools that have been described above.
Using the Spindle
The spindle tool is typically what you will use when you are working between centers. When using the spindle, identify the middle part of the wood because that is where the wood stock has maximum balance and you will be able to work on the wood piece without needing to chip away too much.
You can even make a mark on the middle part of the wood before the lathe is started, so you have a reference point when you start with the tool.
It is always important to ensure that the tailstock is fastened tight, but it is important especially so when you are using the spindle tool. Finally, make sure that the tool rest is at the appropriate height so you can approach the wood stock at the right angle.
Roughing
The spindle roughing gouge is what you will use to give your wood stock a rough shape and structure before you move on to adding more details with other tools. You can also use other types of tools to give your wood stock shape, but the spindle roughing gouge has been designed for this purpose and is the most appropriate tool for it.
You will get the best access and control over the wood stock if you work from the top to the bottom. Ensure your tool rest is in the right position so you can angle the tool correctly and let the cutting edge come in contact with the spinning wood.
It is always recommended that you choose a workstation that allows you to maneuver with ease and gives you room to work without any interruptions.
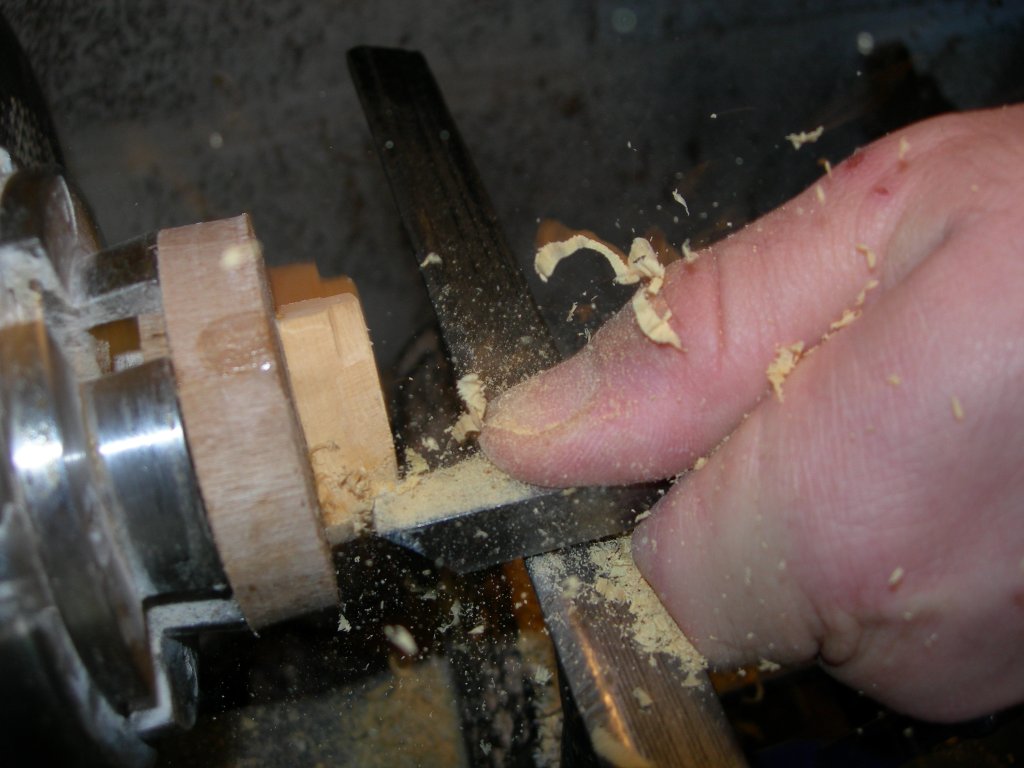
Skew Chisel
The skew chisel, as has been mentioned above, is not the easiest tool to use. It requires some practice and mastering of technique. However, once you have found the right method, it can be a great tool to add details to your projects and experiment with various designs. While using the tool rest, you may even want to raise it higher and approach the spinning wood from the flat end of the tool or the bevel.
This is important because if you approach the wood from the pointy end of the skew chisel, there is a great chance that it might get caught and cause the lathe to glitch. If the lathe is spinning fast, a sudden catch can be shocking and may cause accidents.
You can also use the chisel to make a lot of fine designs and details. You can make a small cut using the pointy end of the tool (be sure to place it on the tool rest properly). Once you have made the incision, approach the wood from the side of the cut and enhance the details accordingly.
Parting Tool
The parting tool is a very useful tool to have in your woodturning kit. Unlike the spindling tool or the skew chisel, you do not need to worry about introducing the bevel first. You can directly apply the pointy end to the wood and let it do the cutting.
Ideally, you should make two cuts with the tool instead of cutting all the way through. This will reduce friction and allow you to get a smoother cut.
If you want to part the wood off, you shouldn’t part the wood all the way using the tool. Cut till most of the way and then use a saw to complete the whole cut. Of course, ensure the lathe is switched off when you are using the saw as you do not want the wood to rotate when you are cutting with the saw.
Bowl Gouge
The bowl gouge is most useful for turning dishes and gives you a beautiful round shape. You can also use bowl gouge as a spindle gouge, but it is best to use the tool for its intended purpose.
You can use a bowl gouge to shape the inside as well as the outside of the bowl. You can try the push cut, which is one of the easiest cuts to make using this tool. You start at the edge of the wood stock, ensuring the tool is at the correct angle, and gradually push your way towards the center of the wood stock.
The idea is to angle the bowl gouge so that it does not dig into the wood. Instead, it gently chips away at the wood to give you the desired shape. Eventually, you will find that the bevel is simply rubbing on the surface of the wood, which gives you a smooth finish.
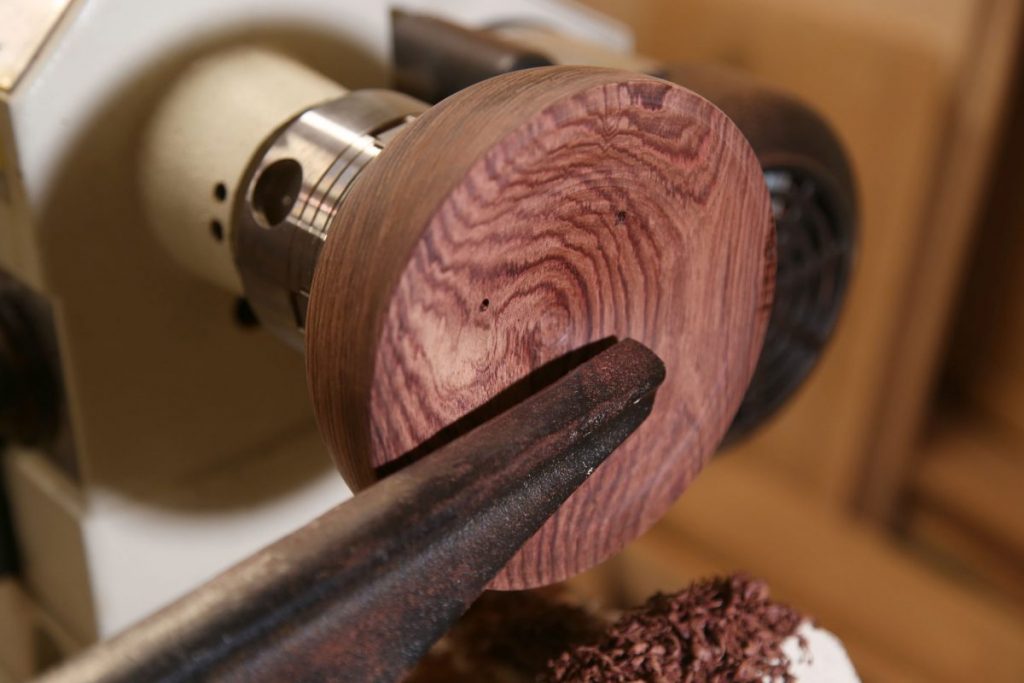
Swept Back Bowl Gouge
The swept-back bowl gouge is one of the most versatile and fun-to-use tools. The tool has a convenient U-shaped design which gives you more options for different types of uses.
You can use the wings of the U-end to cut the wood and then slowly drag it back to the edge of the bowl, getting a planing action as well as preventing the pointy end from catching in the wood.
A Buying Guide for Wood Lathes
We have a very clear buying guide for lathes here, as well as a list of different lathes with specs here.
Final Thoughts
Like we said, good tools don’t make you a good turner. And your most important tools are your eyes and hands.
That said, tools do make your life harder or easier. The tools that have been listed above are some of the basics that should be in your kit and the more practice you can get with these tools, the better it will be for your technique.
Spend some time researching each of the categories above to get a realistic idea of what your initial accessory costs will be. Knowing this figure upfront will help you avoid surprises when the time comes to put down your hard-earned money.
Invest in some spare wood that you can use only for practice. Nobody will become an expert in woodturning overnight. So the more time you spend on the lathe with your tools, the better you will be.
We hope this was helpful. Let us know.




Hi Iv just started using a lathe, Iv made a couple of bit, I tried a goblet but ended up with a cup. I will follow your instructions. Thank you