How to Make Woodturning Blanks from a Log
If buying woodturning blanks is not proving to be easy or if you want to make use of spare wood from your backyard, there is a way to turn raw wood into blanks. Imagine if you are driving down a forest road or if you live on a farm.
If a tree has fallen during a storm or if there is a lot of wood from pruning the trees, you can put that wood to good use by turning it into stock for your wood lathe. Here are the steps to make woodturning blanks out of a log.

Pick the Right Log
You have come upon a stack of raw wood, but not all kinds of wood will make for good turning blanks. Preferably, pick trunk logs that have fewer knots as opposed to limb wood.
Once you have cut the log you want to work with, it is important to seal the ends to prevent it from drying. If the wood dries out it’ll result in checking which will make the log unusable as a woodturning blank. Commercial green-wood sealers (Anchorseal is the most common) complete the job.
Using a sealer is better than using paraffin or paint. Sealers can be cleaned with water and dry cleared, while paraffin tends to chip off and paint requires simply too much effort before it can do a good sealing job.
If the ends of the log are already checking then you should cut slightly above where the wood has started checking and then proceed to seal it immediately.

There is no need to cut the log too finely at this stage. Ideally, you should leave it slightly longer so that you can manage it better when you start actually treating the log.
Clean the Wood
If you are using a chainsaw, start cutting slowly and stop immediately if you see sparks flying from the friction. You should also examine the wood closely to ensure there is no hazardous material, such as metal or hardware, in the wood.
One might wonder how the metal would make its way into the log but if the wood has been sourced from a city or on a farm that was inhabited, the tree could have grown around a nail or wire.
If the tree was in someone’s backyard, it could even have accommodated a tree house or been used to prop up a clothesline.
In short, you do not want any of these things to catch in the chainsaw or worse in the wood lathe later. You can use a handheld metal detector or even a rare earth magnet to assess the log and remove any hazardous material accordingly. Even small pieces of rocks can catch in the chainsaw and make it dull.
Remove Pith
The next step is to remove something known as the pith. The pith is found at the center of the log. It was the stem when the tree was a sapling. It is responsible for transporting nutrients around the body of the tree.
However, that also means the pith consists of soft cells that make the transporting of nutrients easier. The pith, therefore, is an unsteady part of the log and is also surrounded by a layer of wood that is softer and more prone to checking. In a nutshell, the pith needs to be removed so you work with the strongest part of the log.
Usually, you can recognize the pith based on the color of the wood grain. Depending on the length of the diameter, the size of the pith and the surrounding unstable zone will vary.
If the pith zone is smaller, you should cut through the pith to split the wood down the center. If the diameter is larger, you should remove the wood surrounding the pith and cut through the main area in steps.
Make Markings
To make this cutting job easier, use permanent markers so you can have a rough map while cutting. When you are cutting a larger section because the pith zone is larger, you can even draw possible shapes of bowls you may want to make with the stock and cut around the shape accordingly.
It is important to do marking before you start cutting as the markings will give you a line to cut along. You can also use the markings to identify the patterns you want in your bowl or other items when the log finally makes it to the lathe.
You should think about all the possible items you can make with the stock and think of the different orientations you can work with while cutting a single log. One log will yield multiple stocks, especially if the wood is of good quality. Depending on the size of the log, you can make rough markings for a natural-edge vessel, quarter-sawn bowls, flat-sawn boards, etc.
Prepare for the Cut
Do not cut a round log directly on the ground as there is a good chance that it will roll away in the middle of the process, leaving you vulnerable to injury and accidents.
Instead, balance the log on wood blocks and ensure that it is securely in place. Ideally, you should keep the marking lines you have drawn vertical as that will give you an easier cutting action. You should also try to cut with the grain instead of against it as that will give you less resistance.
Once you have set the log on the woodblocks in the right position, you can start cutting through all the parallel lines. It would be better to stop short of cutting all the way through the wood as your setup will fall apart if one chunk of the wood has been sawed off.
As has been mentioned above, it is important to mark the pith zone and cut around it. At times, the pith line is parallel to the bark line which would make your job much easier as you do not have to pick which line you want to cut parallel to. However, if this is not the case you may want to consider cutting across the bark line as that will give you the chance to preserve the natural pattern of the grain which will eventually look good on the bowl or item you make out of the stock.
Similarly, for quarter-sawn blanks, you should cut through the parallel lines around the pith and finally finish the job once you have made all the parallel cuts (so the woodblock setup does not fall apart).
Benefits of Cutting Your Own Blanks
You may be wondering why one should even bother cutting their own blanks from logs if you can just purchase it at the market. Apart from the possibility that you may not find blanks to your liking at the market, cutting your own blanks from logs carries real advantages.
For starters, you will be able to save a lot of wood, especially if you live on a farm or an estate. Even if you live in a town that has a lot of greenery and the municipality carries out trims and prunings regularly, you will be able to find a lot of wood for free!
You can even use local firewood to cut your own blanks, which will be a more cost-effective solution in the long term than constantly purchasing mass-treated woodturning blanks from the market.
But other than being able to save and reuse local timber, there are further advantages to using logs as your starting material. You can also cut the wood in a way that you can salvage the natural pattern of the wood and use it to make beautiful bowls and items.
You can play around with a variety of patterns and colors on the wood. Of course, when the wood dries these colors will fade away. But you do not have to deal with store-bought wood where each stock looks like the next one. Preparing stocks from scratch will allow you to cut along unique patterns and make your bowls distinct.

Besides, it is also easier to use green wood for turning than seasoned and dried wood as the former will generate less dust.
Safety Tips
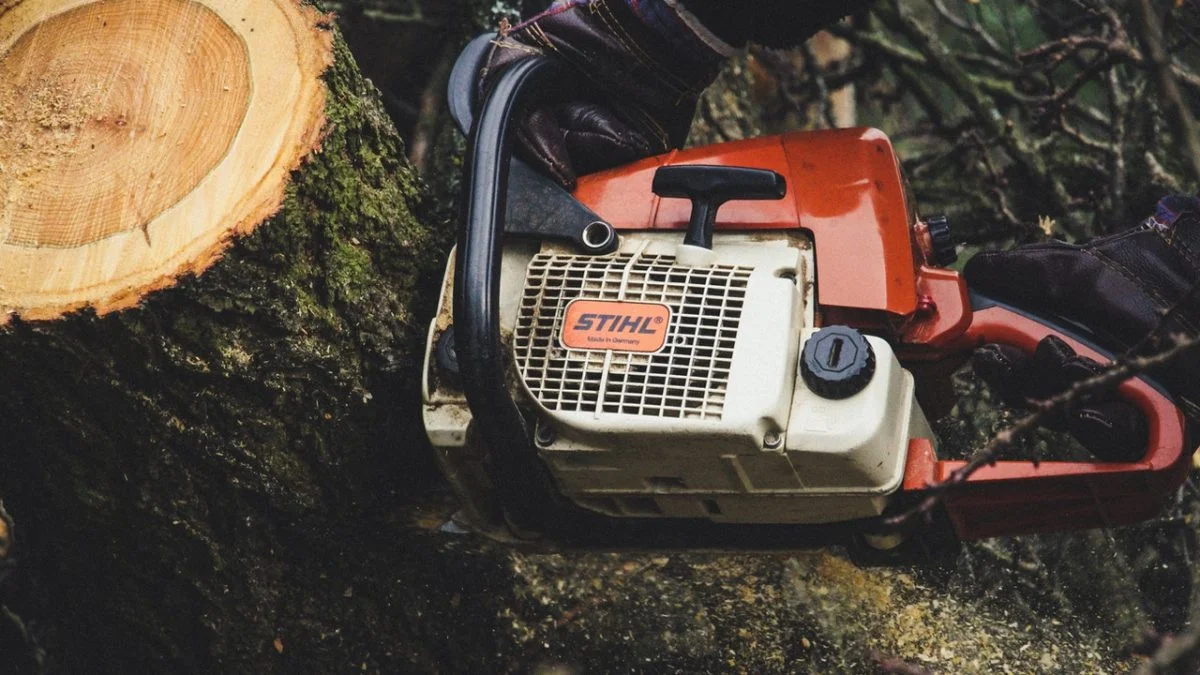
The above sections have already covered the importance of checking the log to see if there are any hazardous materials lodged in it. When you are working with a chainsaw, no amount of safety is enough. Keep the chain sharp — a dull chain means ragged cuts and extra effort. Once the blanks are cut, a well-tuned bandsaw and a properly set jointer help prepare flat reference faces for mounting.
It is best to over-prepare and take extra safety precautions so you can eliminate room for error as much as possible. Follow these safety protocols when making woodturning blanks from logs:
Face Shield
You would not compromise on wearing a face shield when you are actually working on the lathe. Similarly, when you are cutting the wood you should try to keep the face shield on so you can prevent pieces of woo from hitting you in the face.
If you are using a chainsaw, you can also expect a lot of sawdust that can irritate your eyes and nasal passage for a long time.

Wood Blocks
It has been mentioned above that you should secure your log on wood blocks before you start cutting as the log has a chance of rolling away otherwise. When you place the log on the blocks, ensure that it has been securely positioned so the blocks underneath do not collapse and cause the log to roll away while you are cutting the log.
Cut-Resistant Gloves
Even when you spot a professional cutting timber, you will notice that they have gloves on. If they choose not to wear gloves it is probably because they know their way around the wood and it is not much of a risk to them to skip wearing the gloves.
However, if you are not used to cutting timber or preparing woodturning blanks from logs, it is important for you to wear cut-resistant gloves. You do not want blisters from handling a powerful saw or cuts from assessing the wood for cutting.
It is best to keep your hands protected while cutting the log. After all, you are going to require the complete functionality of your hands when you finally place the stock on the lathe.
Written by Vince
Vince is a woodturner and the founder of WoodturningOnline. He writes tool reviews, buying guides, and turning tutorials to help woodturners at every level make informed decisions about their craft and equipment.