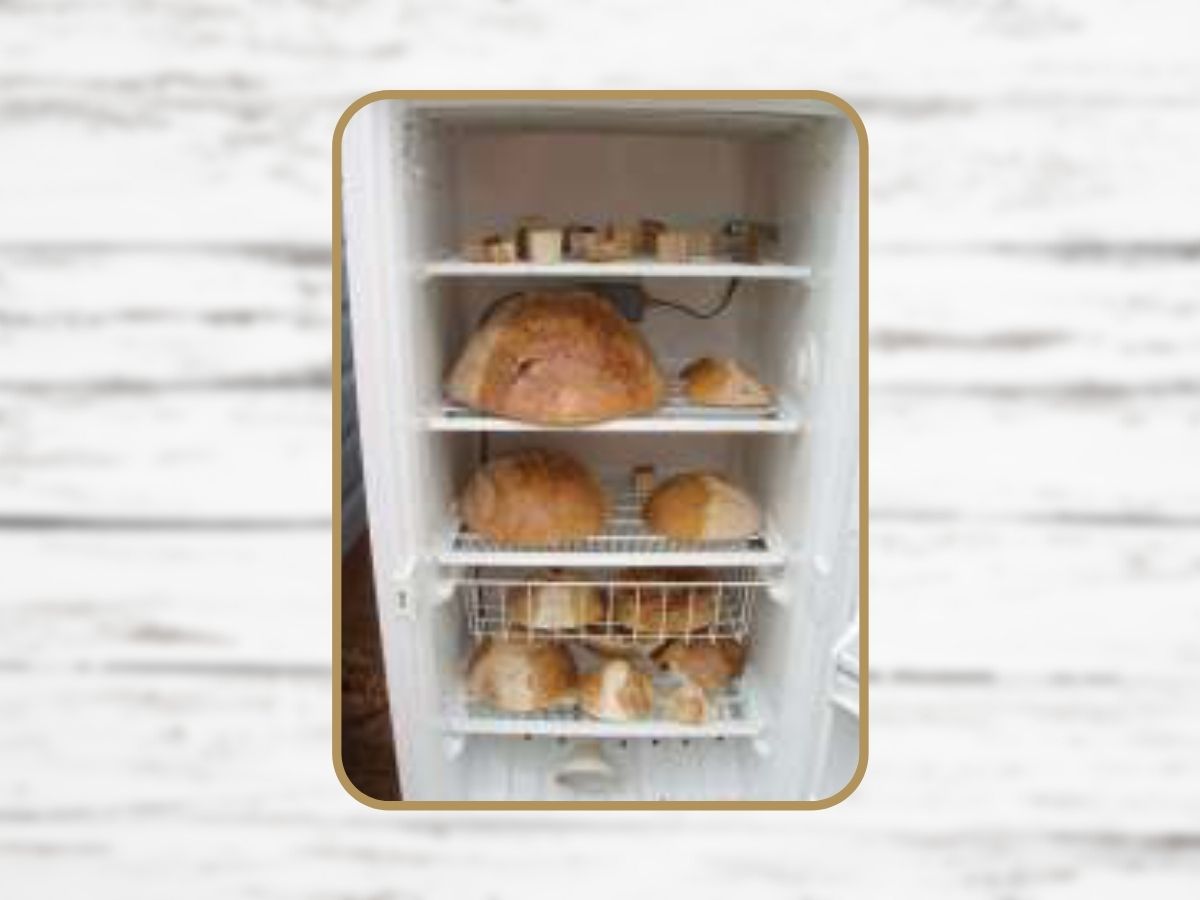
Are you tired of waiting months for dry turning stock? Did you know that you can easily make a DIY wood-drying kiln out of an old refrigerator and have a steady supply of stock in just a few short weeks? Read on below to find out how.
We thank Ted Rudie, equipment manager for the Chesapeake Woodturners, for allowing us to use descriptions and photos as printed in the Chesapeake Woodturners Newsletter.
You can make a DIY wood kiln out of any insulated enclosure if you can control airflow and temperature. The best, low-cost, and most obvious choice is a discarded upright freezer or refrigerator. Maybe you or your neighbors already have one, or you can get one for little to no cost at a local appliance repair center.
Installation
Here’s the process:
- Clean your fridge to remove any food residue or stains.
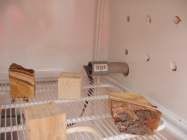
- Drill 1/2-inch holes in the top sides and the bottom. Ted recommends four on each side. Be sure to go all the way through for airflow and circulation for the drying process.
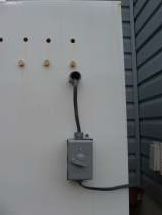
If you’re a little bit familiar with electrical wiring, steps 3 and 4 are easy to do yourself.
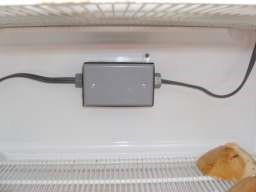
- Locate where you will exit your shop for the electric supply to your kiln. If you have an outside receptacle, make sure it’s a GFI circuit.
- Mount watertight electrical boxes, one on the outside of the kiln for an on/off switch, one on the inside top for a thermostat, and one on the bottom for a hooded lamp. Use UF wiring and watertight connectors throughout the installation for safety.
- It’s better to install it outdoors because of wood odors and humidity. If you do, make sure to install a good lock.
Operation
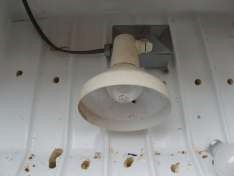
- Rough turn your bowl blanks as you usually would.
- Coat only the outside end grain with a green wood sealer. This lessens the occurrence of mold and mildew. Trial and error will dictate how much and where you gain experience with your kiln.
- Start with a 40-watt incandescent light bulb.
- In about a week, check the blanks with a moisture meter. When the moisture drops to 14-16 percent, change the bulb to 60 watts.
- Check the kiln in another week. When the moisture falls to 12 percent, change to 75 watts.
- In a week or so, the moisture should be near 6-8 percent. Shut off the kiln and let it cool completely.
- Bring the cooled blanks to your shop. Let them acclimate to your shop environment for 1-2 weeks before finishing turning.
Notes
- Drying times can be different for different woods, blank thickness, outside temperatures, and humidity.
- If a bulb blows before you complete a cycle, start over at 40 watts and increase daily to where the last wattage bulb blew.
- You can install remote digital thermometers at the top and bottom of the kiln to observe temperatures in real-time.
- You can achieve total insect control at 125 degrees for one week.
All the dry wood will be worth it. Hope this was helpful!
